Examples are valid for :
TMflow Software version : 1.88 or above.
TM Robot Hardware version : All versions.
Other specific requirements : None
Note that older or latest software versions may have different result.
Smart Insert #
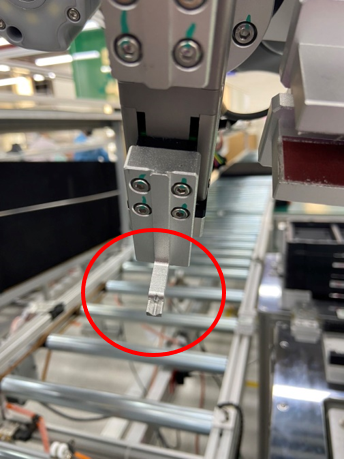
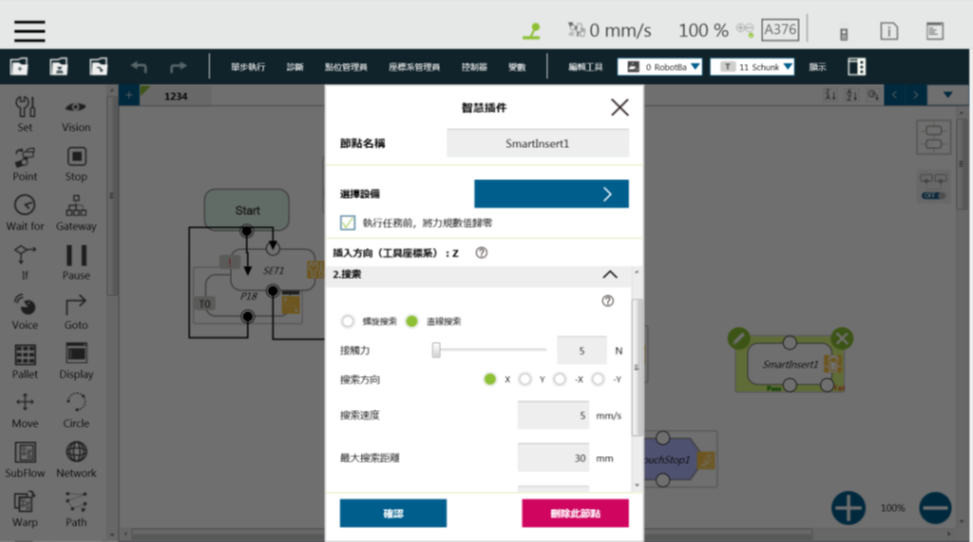
The Smart Insert node is designed in such way that makes it easy and quick to set up characteristically difficult object assembly/insertion jobs, and equips the robot to execute such jobs. The insertion act performed through the node takes place in three sequential steps: Approaching, Searching, and Inserting. These three steps are described as follows. (Note that Smart Insert must be used with the force sensor, a TM Plug&Play product.)
- Approaching : Bring the object to be inserted close to where assembly takes place, until the force sensors detects a 5N resistance.
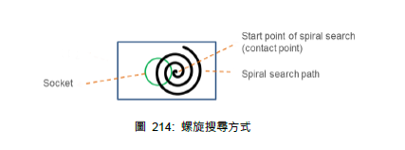
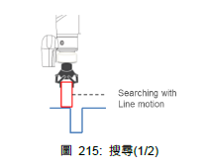
- Searching: Search the hole positions of the mating parts in a spiral or linear way. Normally, spiral searching is performed for DRAM insertions, and linear searching for an insertion hole.
- Inserting: Move in the insertion direction. If contact is made in other directions, the movement will be reversed.
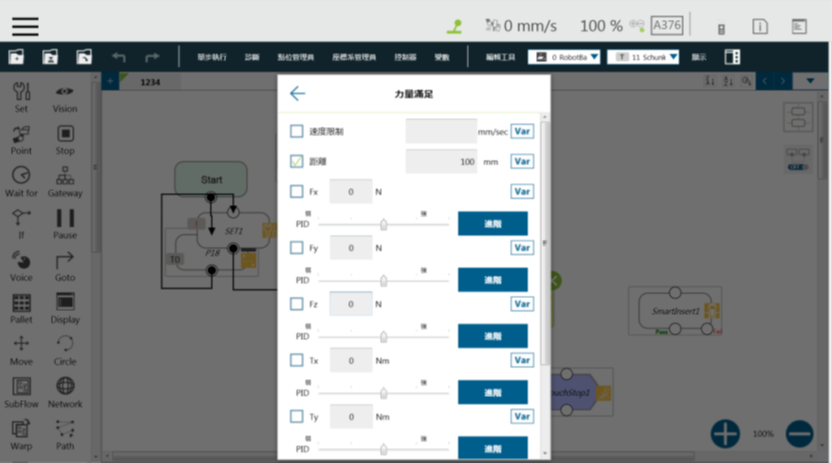
To insert an object, use a Smart Insert Node with a Force Node. Make sure that the approach contact force is 5N for Smart Insert. Smart Insert can only be used if the object to be inserted withstands a forward force of more than 5N. If not, you can use a Force Node to choose the insertion angle and approach point and avoid damaging the object.
Force Node #
- As far as DRAM insertion is concerned, you can use a gripper to deliver more stable insertion force, or insert DRAM at an angle along the edge.
- Downforce is very different between early and new robots. The insertion force of the early ones is often weakened after several tests.