Table of Contents
Create Visual Servoing Task #
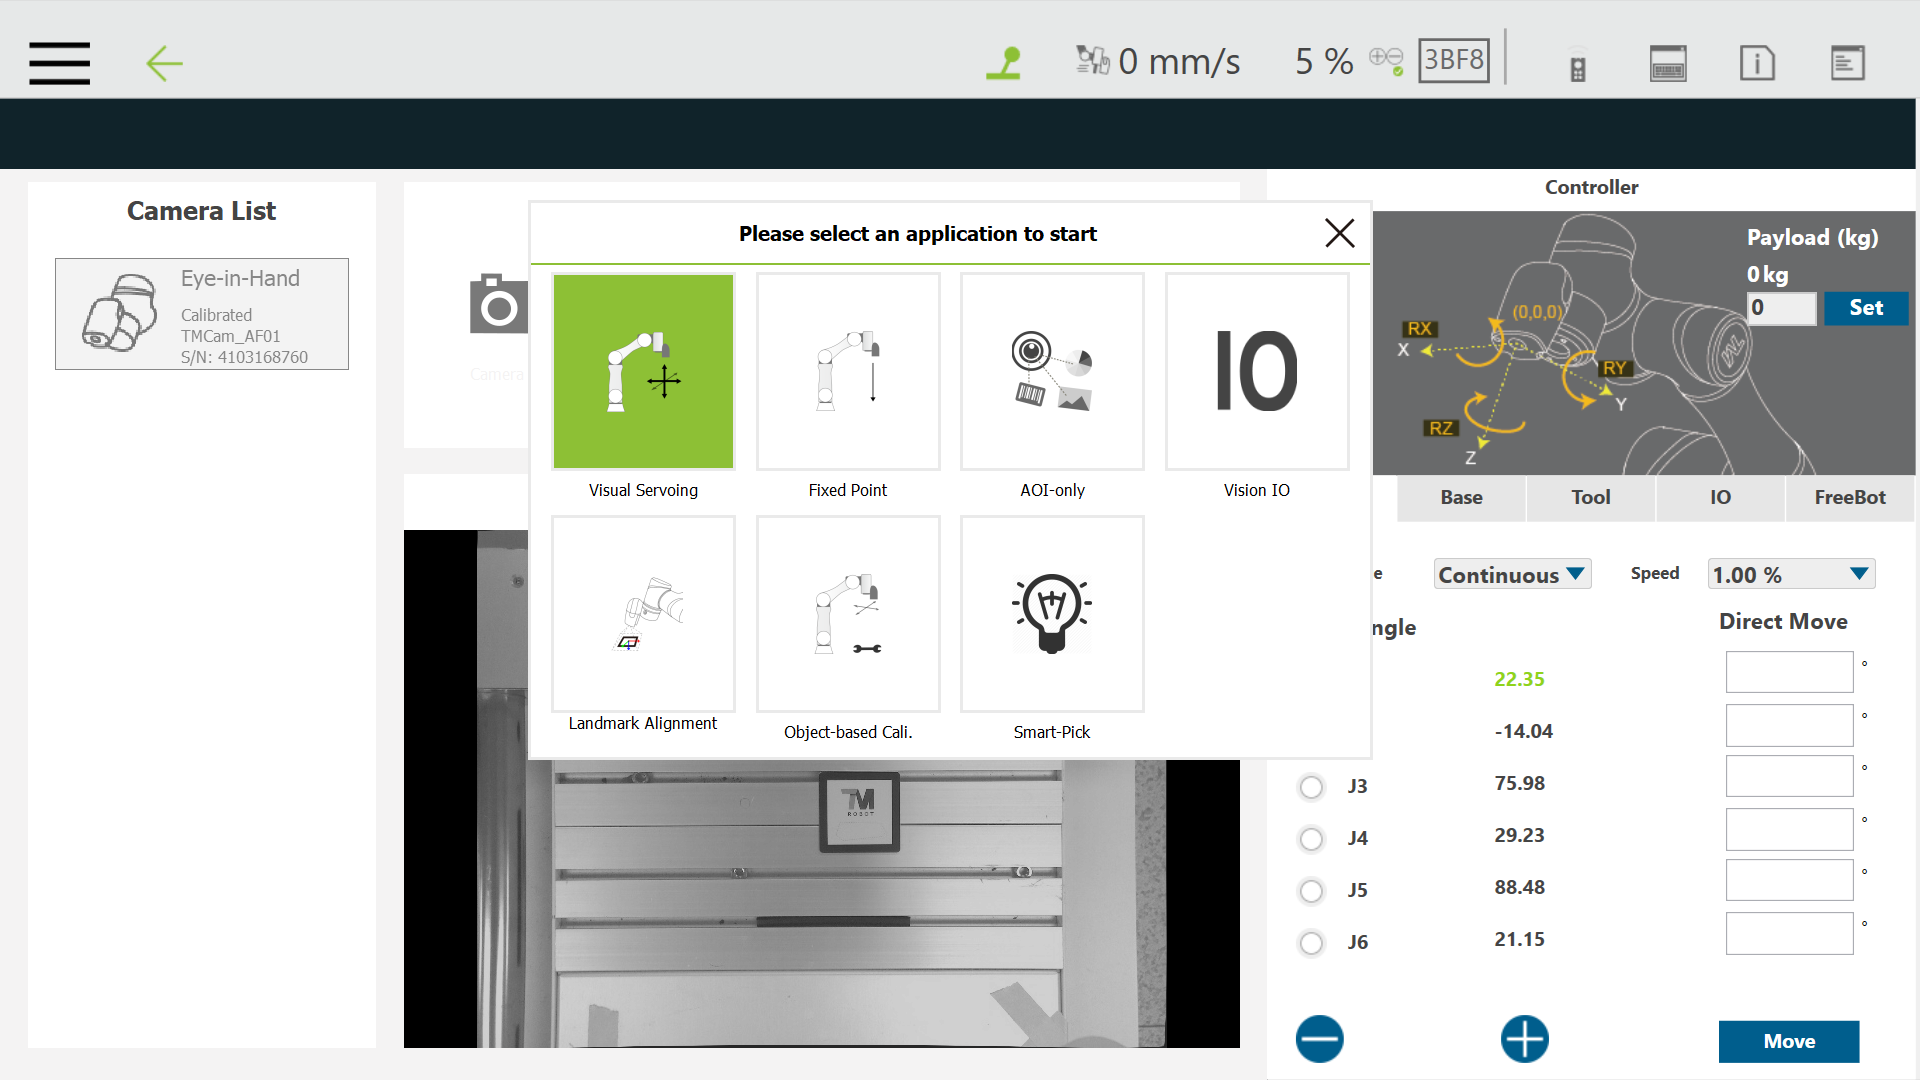
Step #1: Click Task Designer and select Visual Servoing![]() .
.
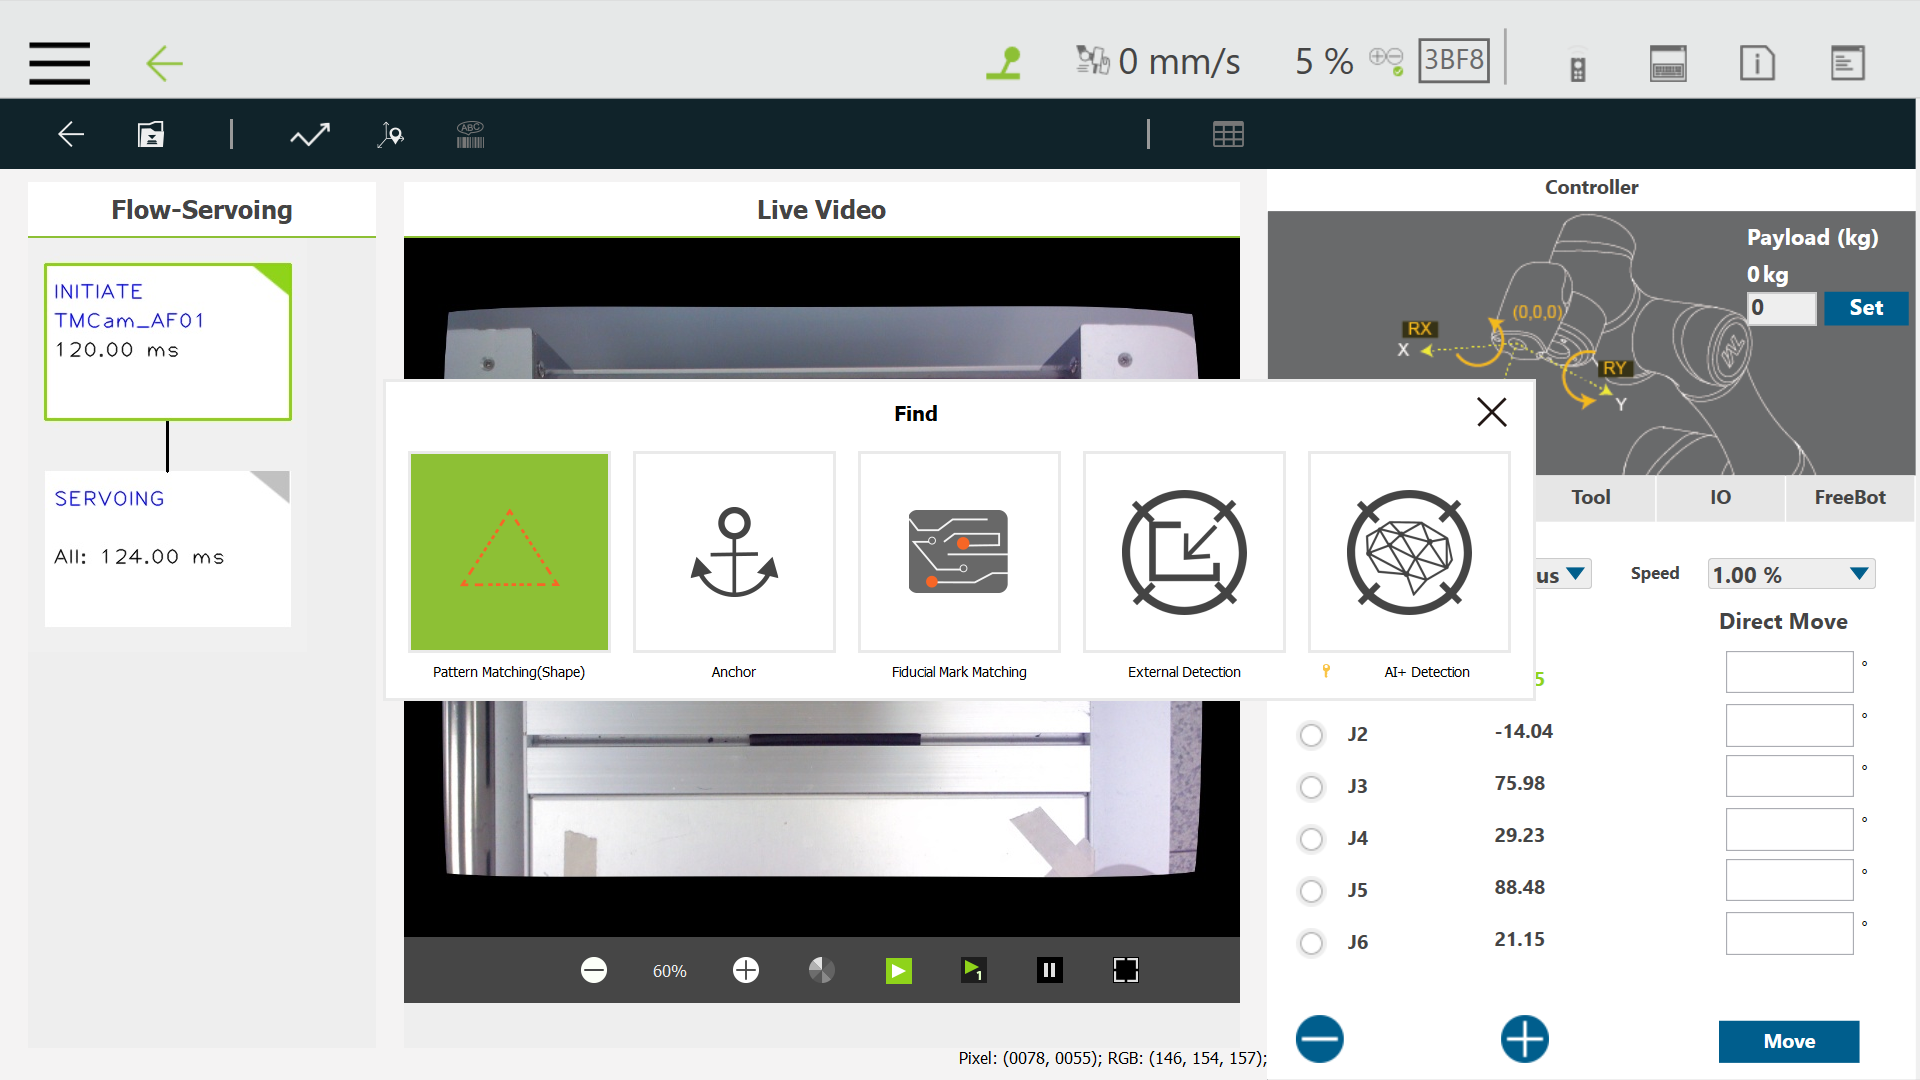
Step #2: Select Pattern Matching (Shape) ![]()
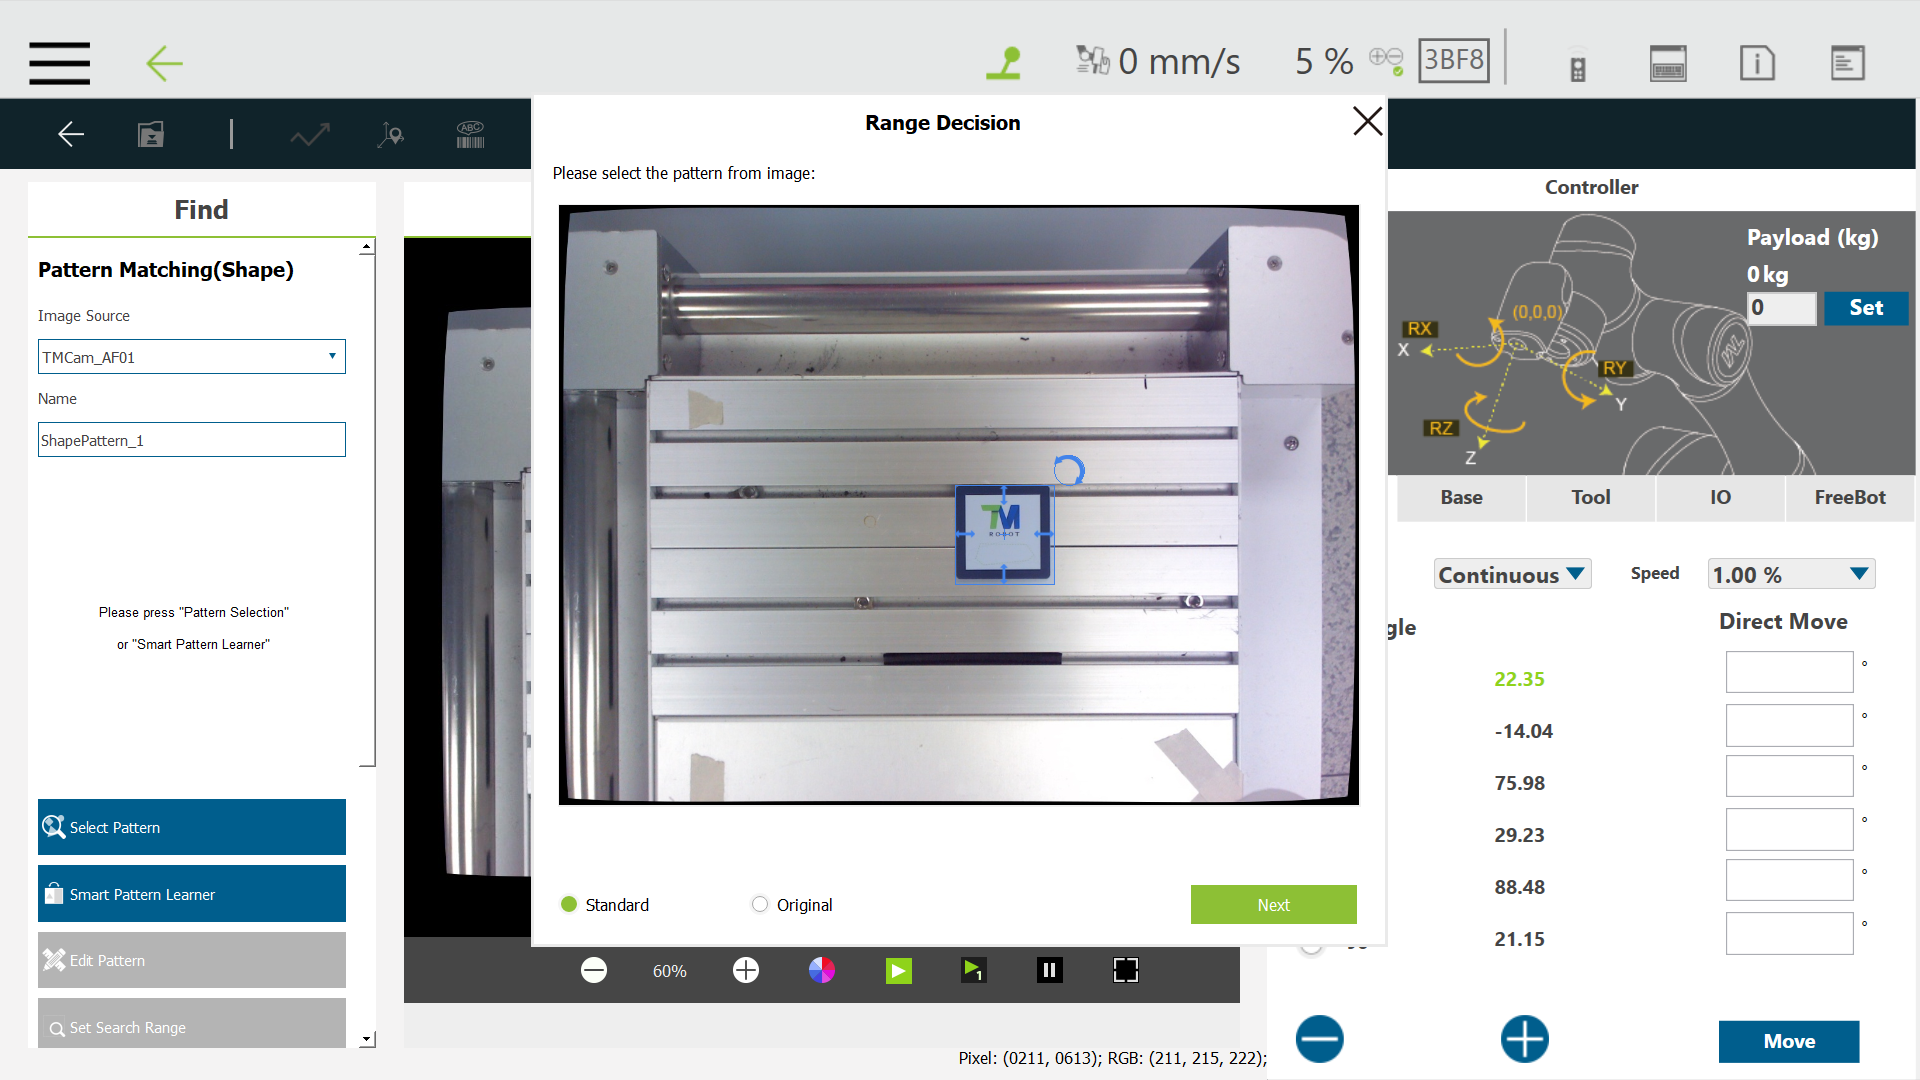
Step #3: Click Select Pattern ![]() , crop the pattern and click Next.
, crop the pattern and click Next.
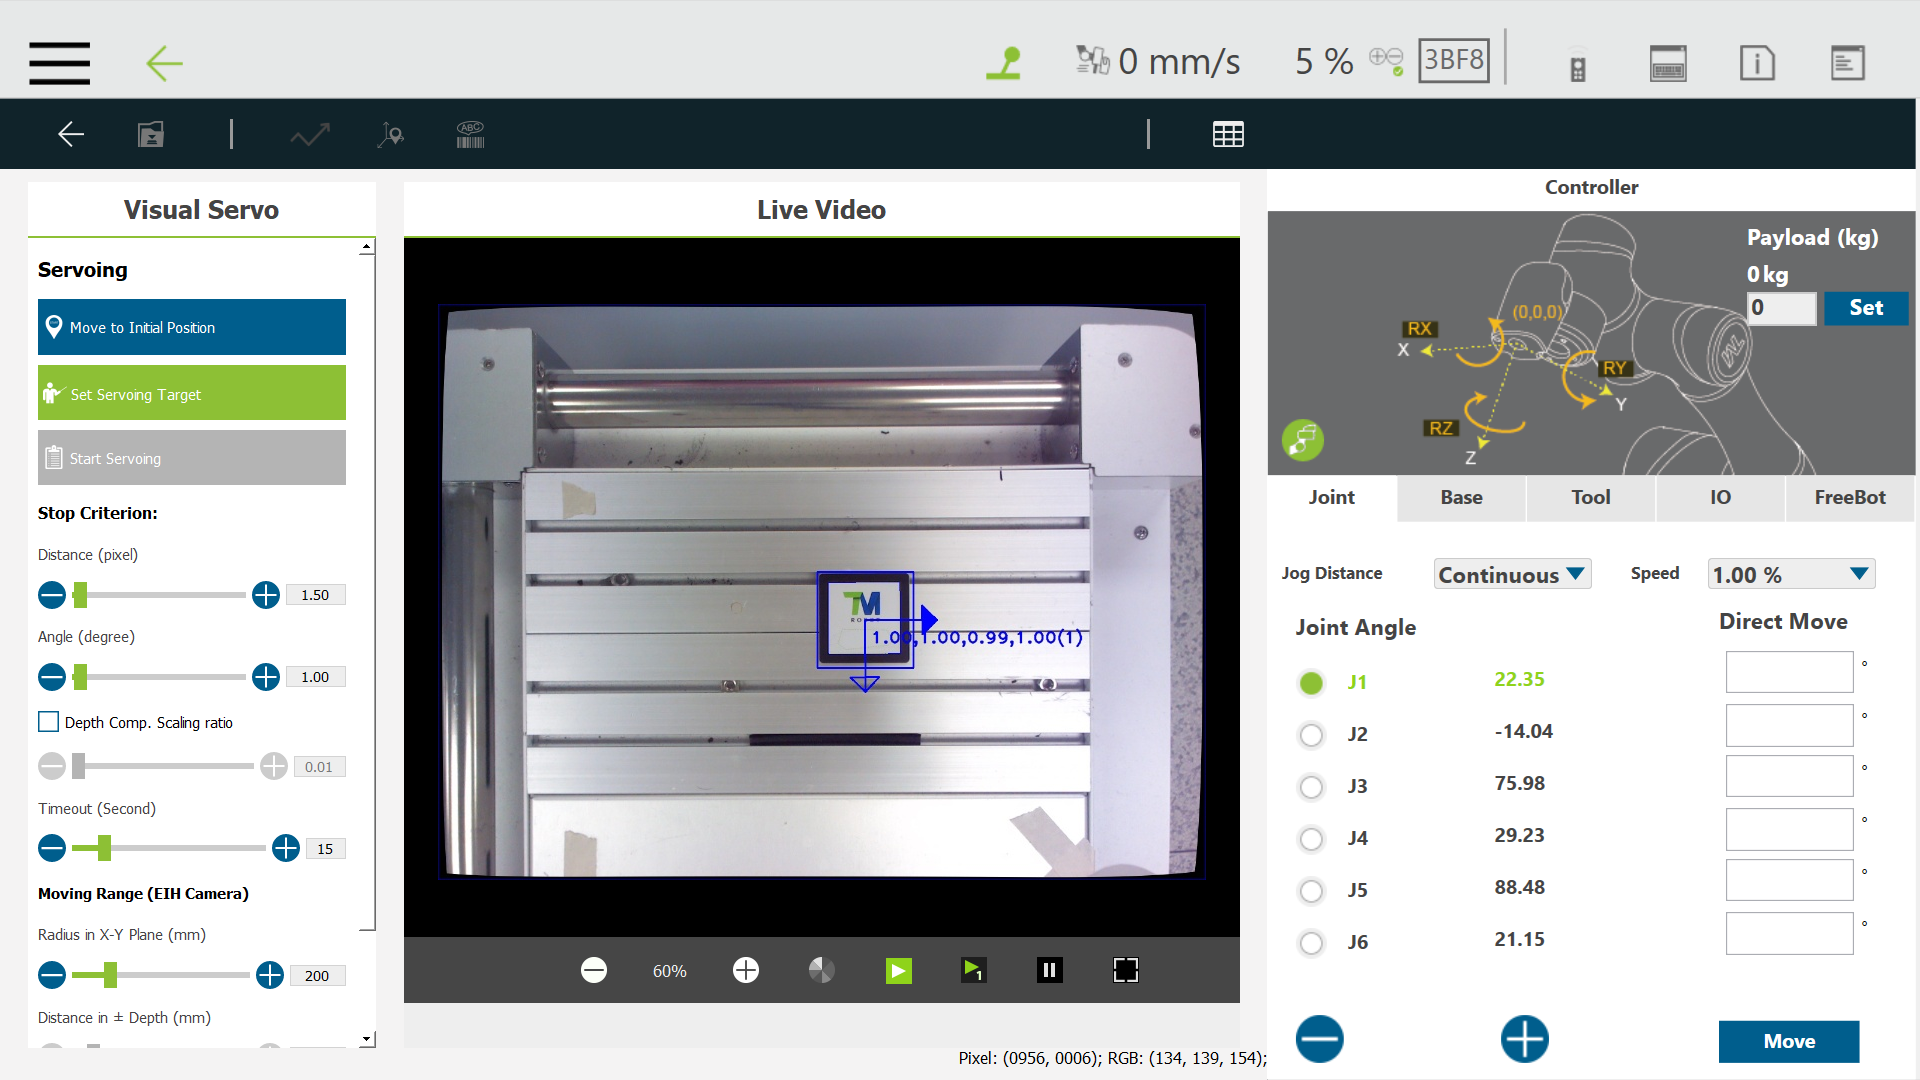
Step #4: Double-Click Visual Servo block and move the robot to the initial position. 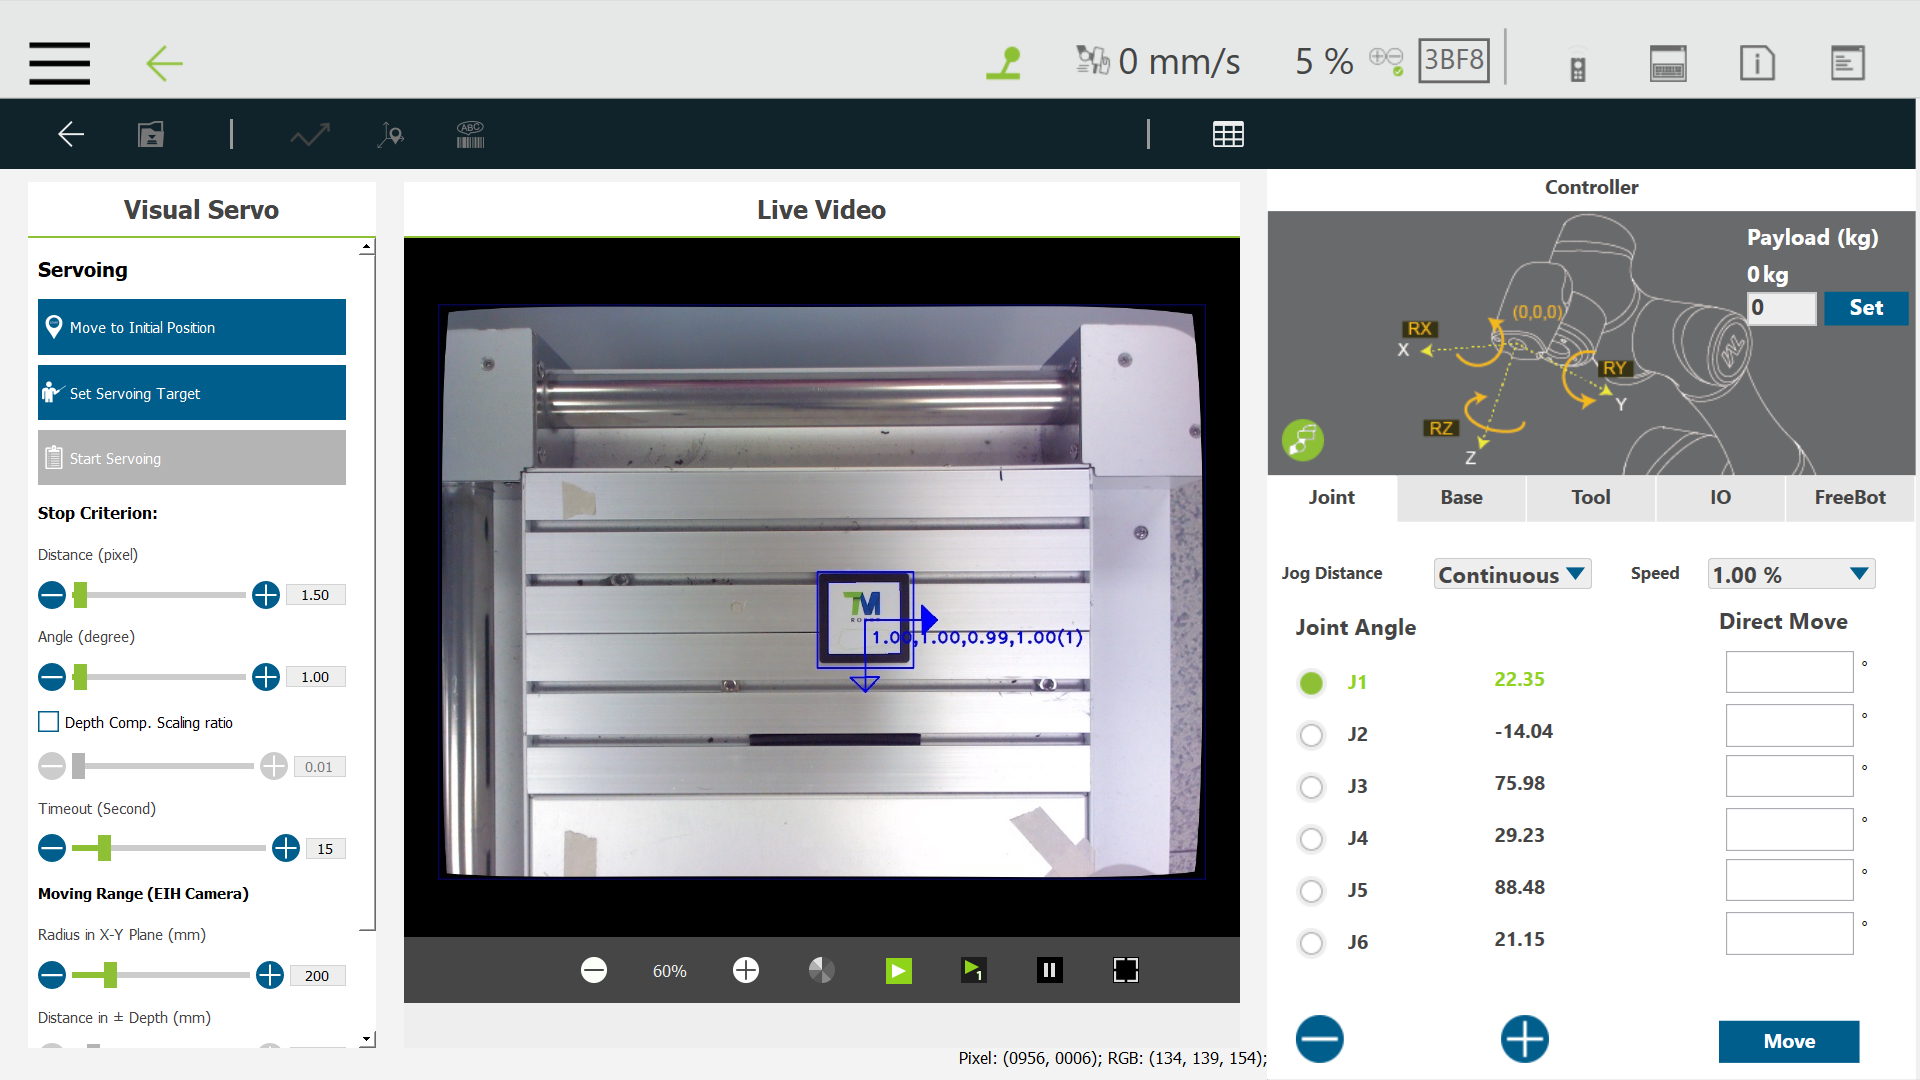
Step #5: Click Set Servoing Target ![]() .
.
Step #6: Choose Locate Target at Image Center and click Set. 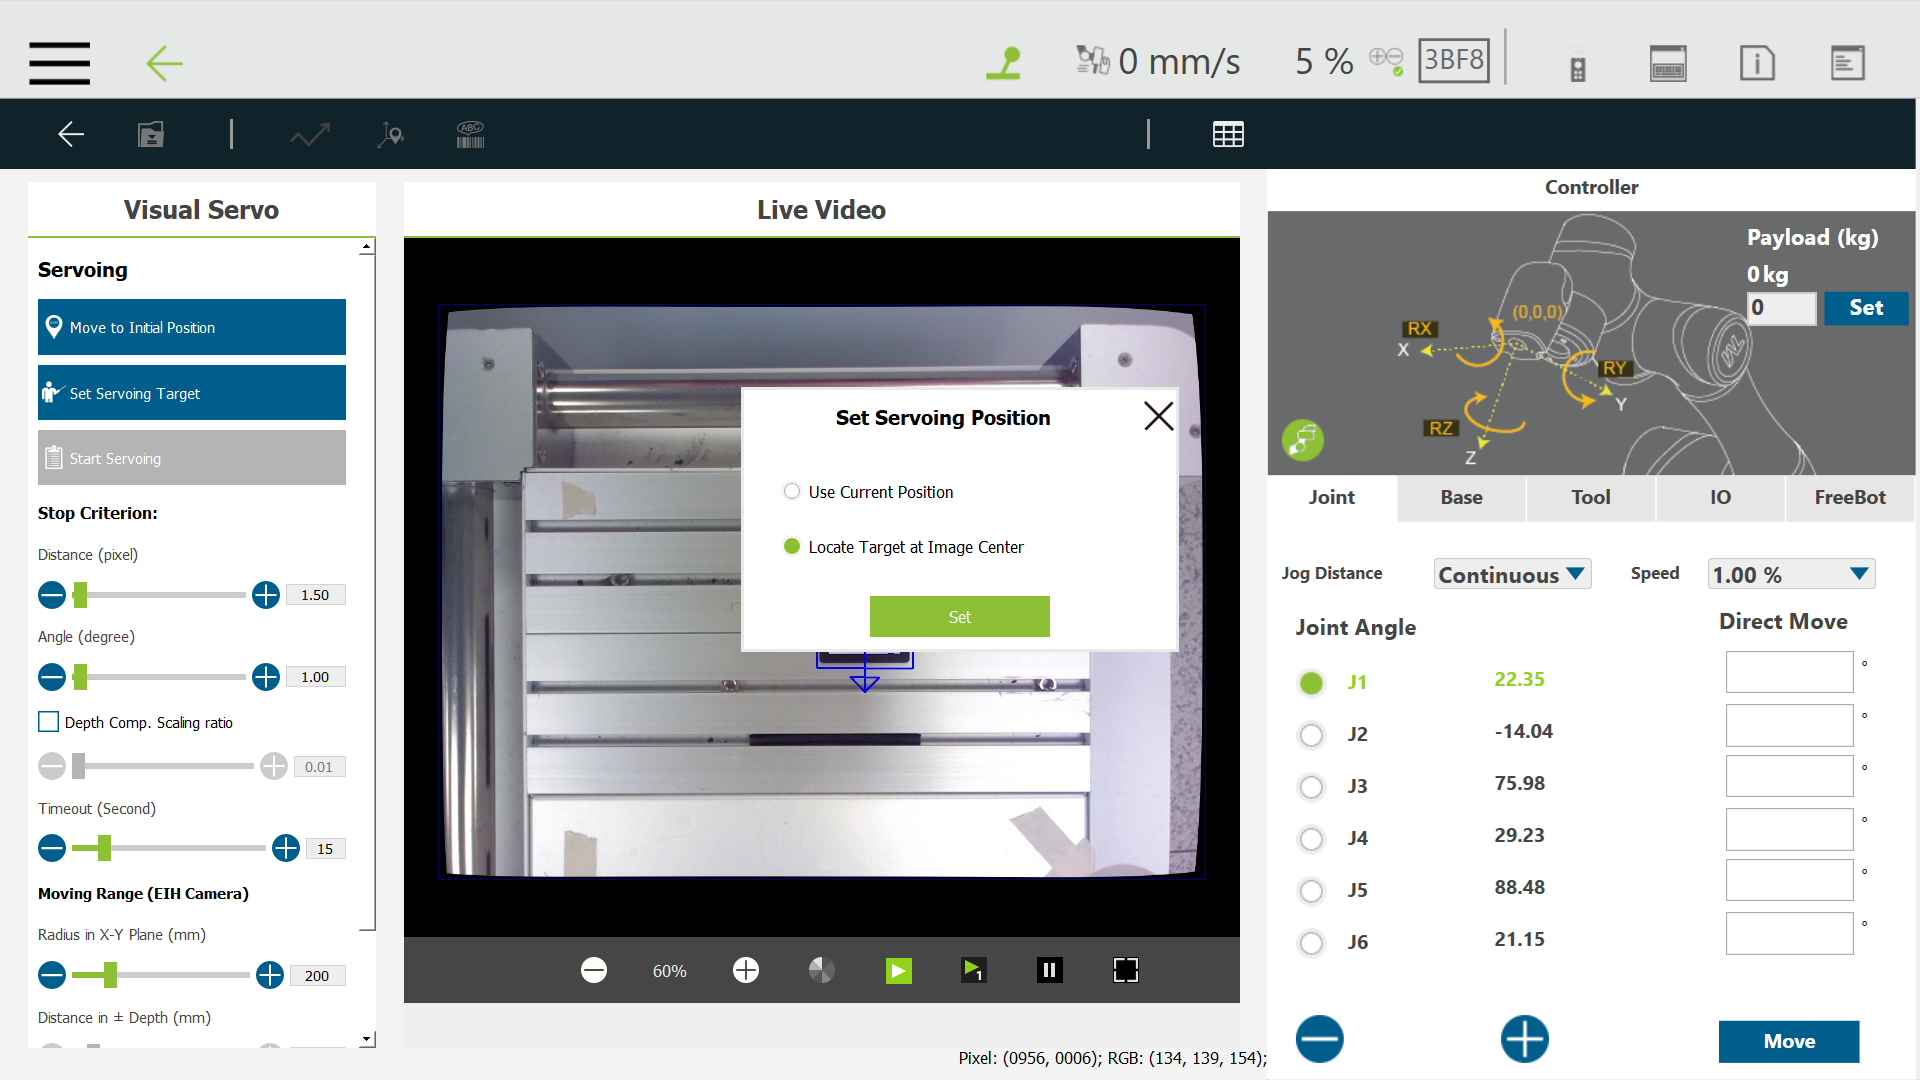
Step #7: Click OK. 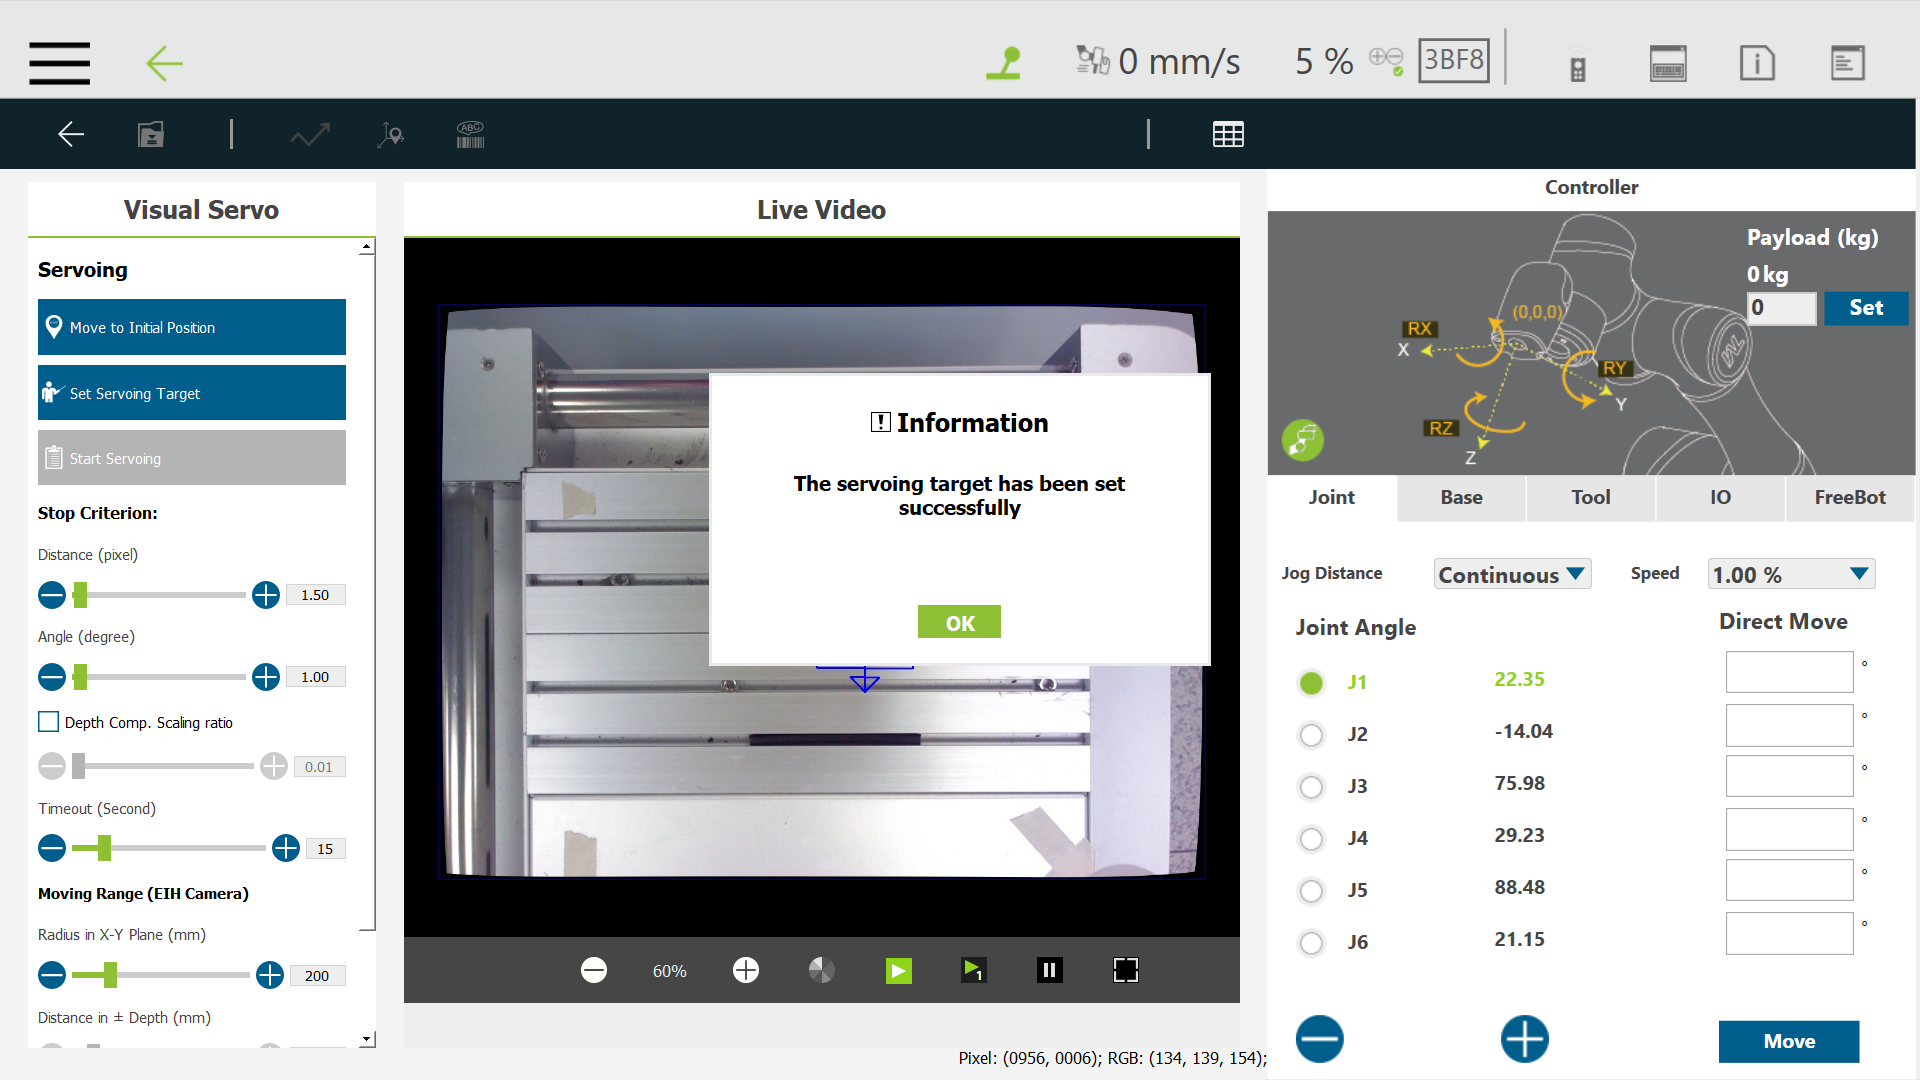
Step #8: Click Start Servoing. 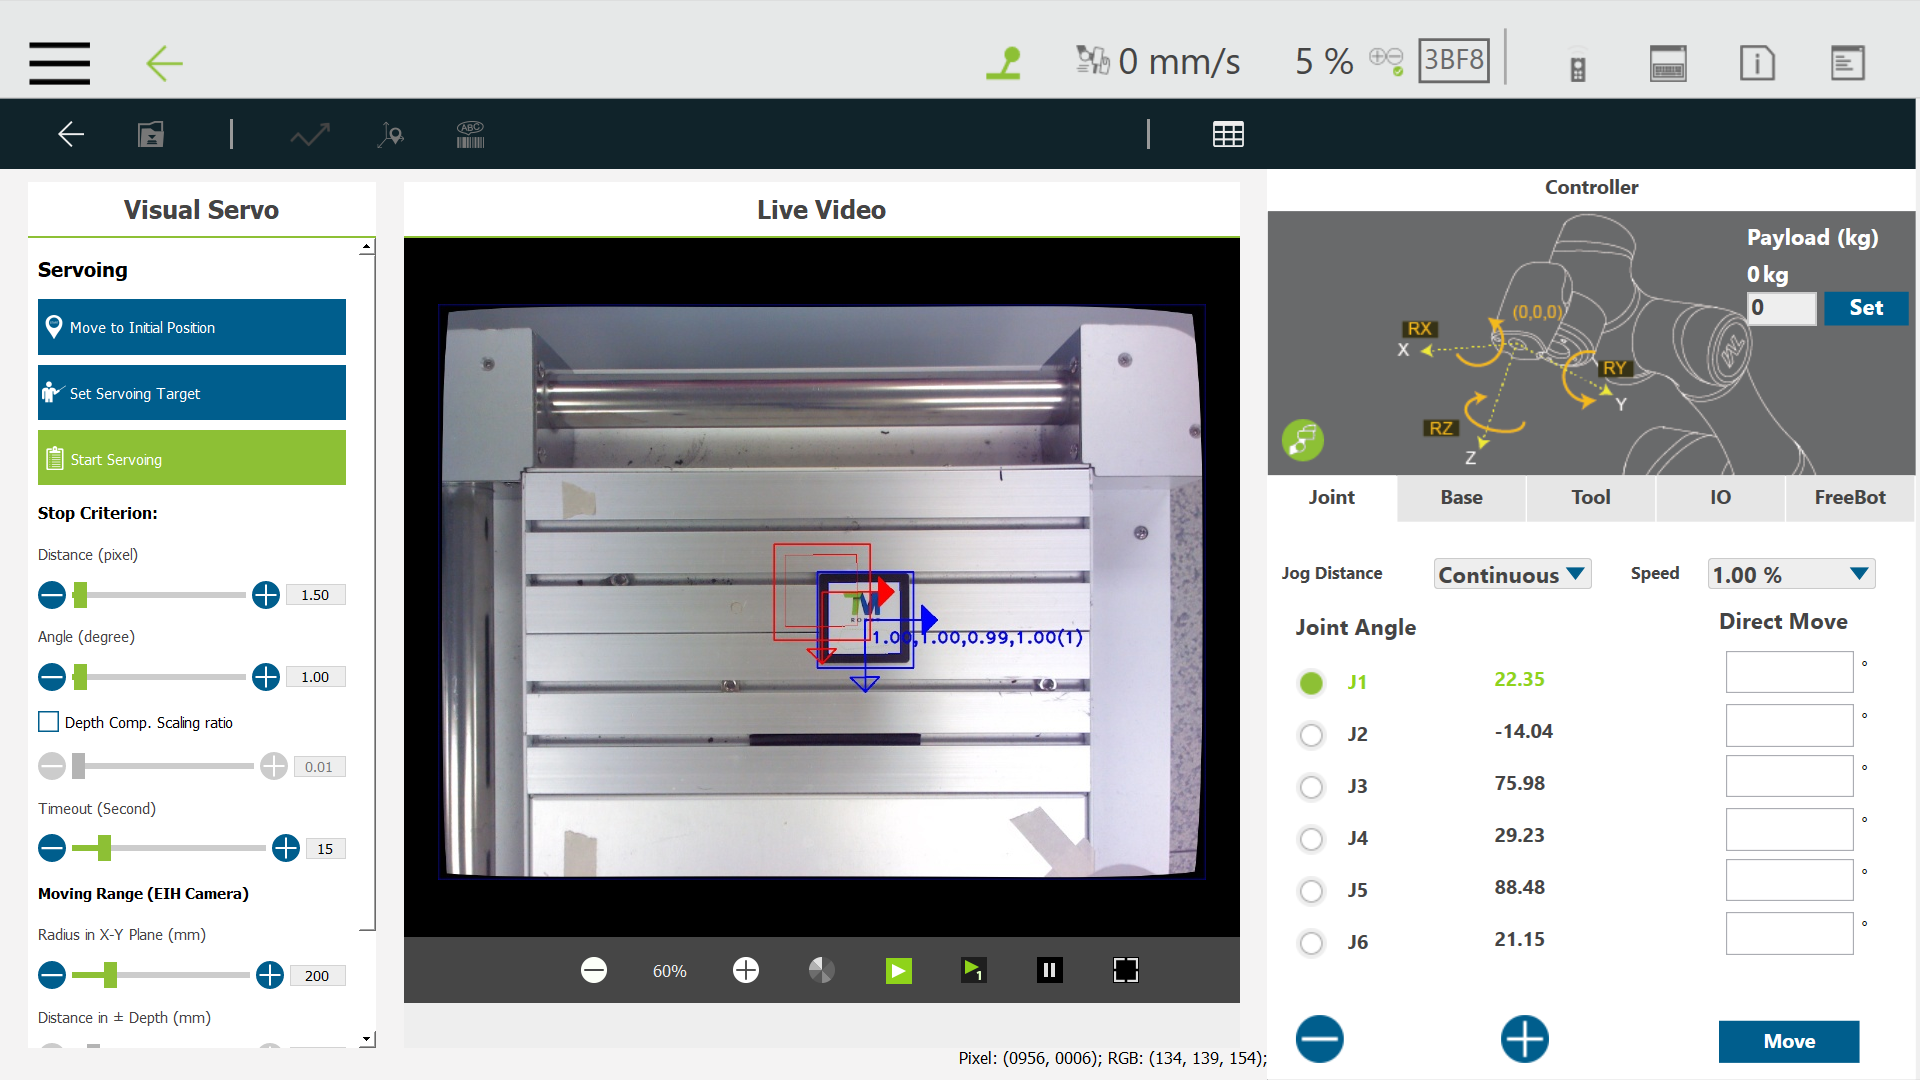
Step #9: Press and hold the plus button on the robot stick and start testing visual servoing. 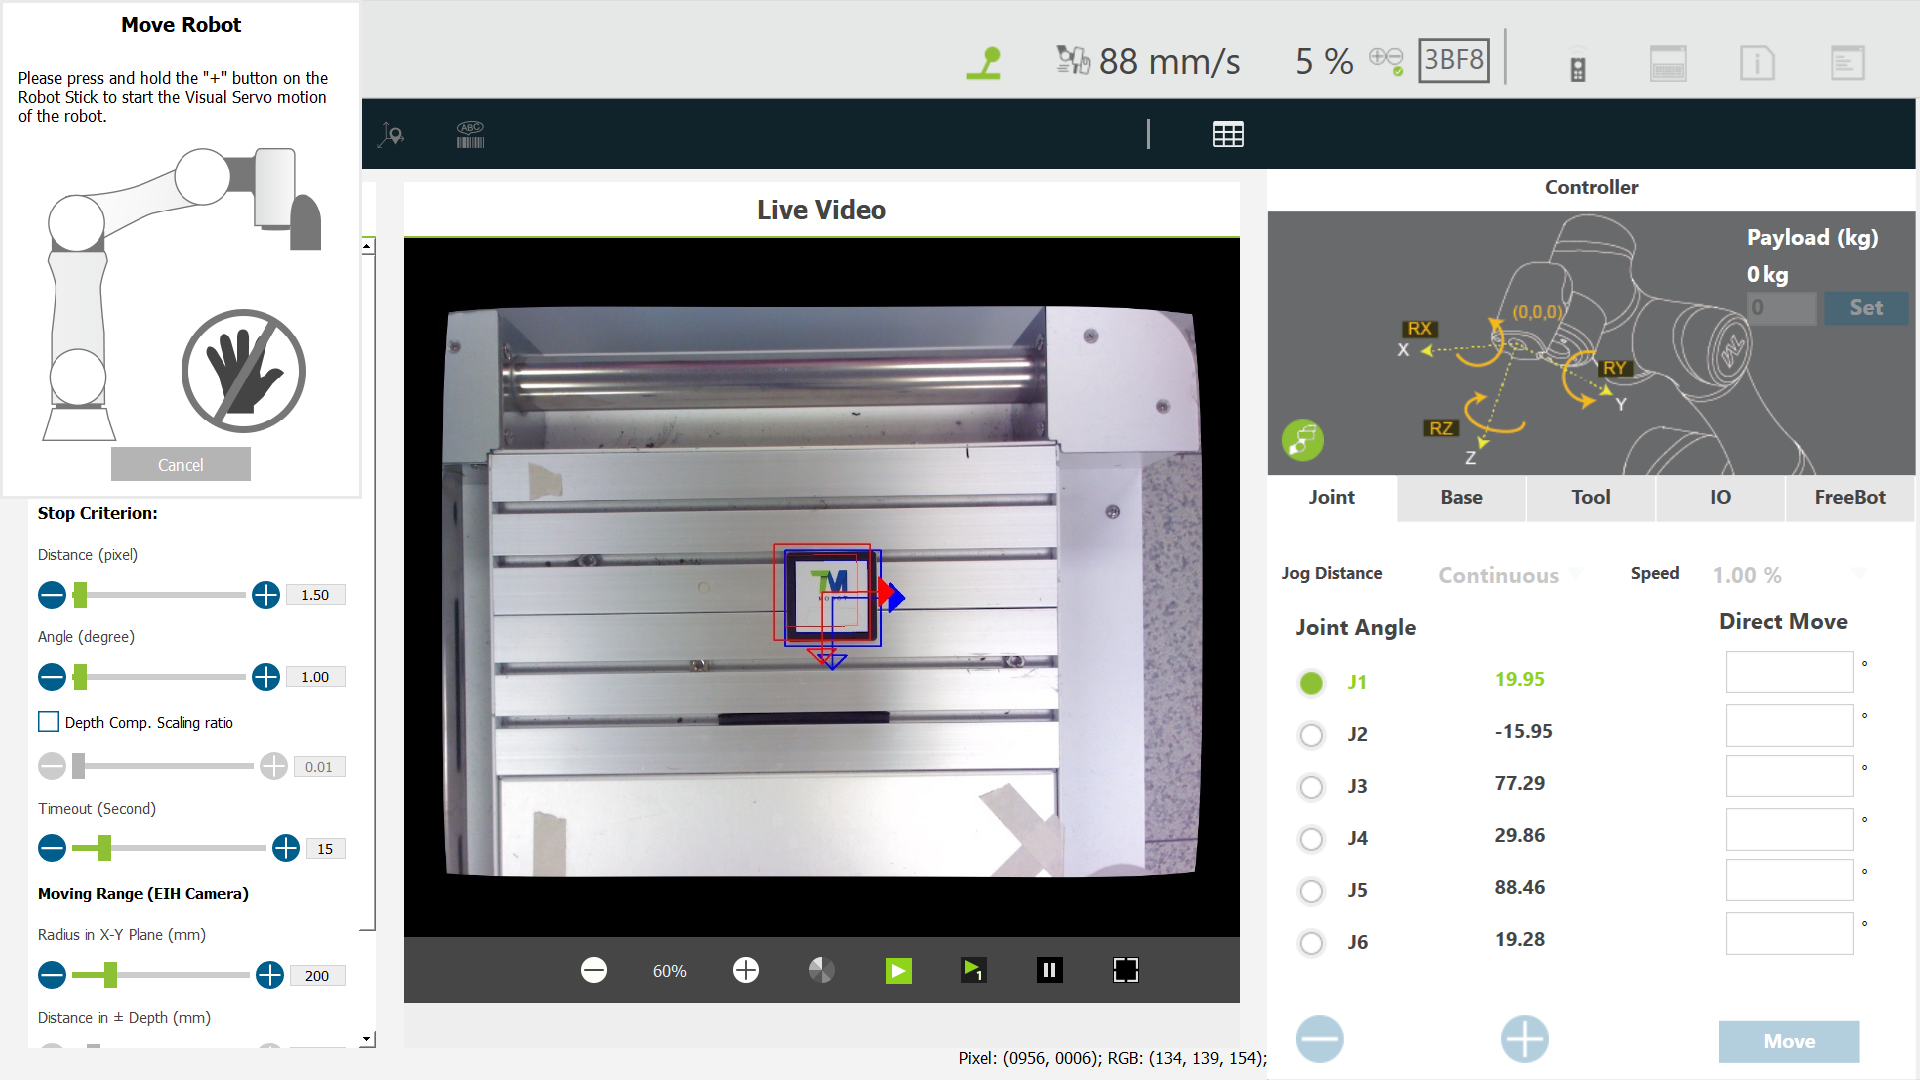
Step #10: Click OK and click save ![]()

Run the project #
Step #11: Play the project by pressing the Play/Pause button on the robot stick.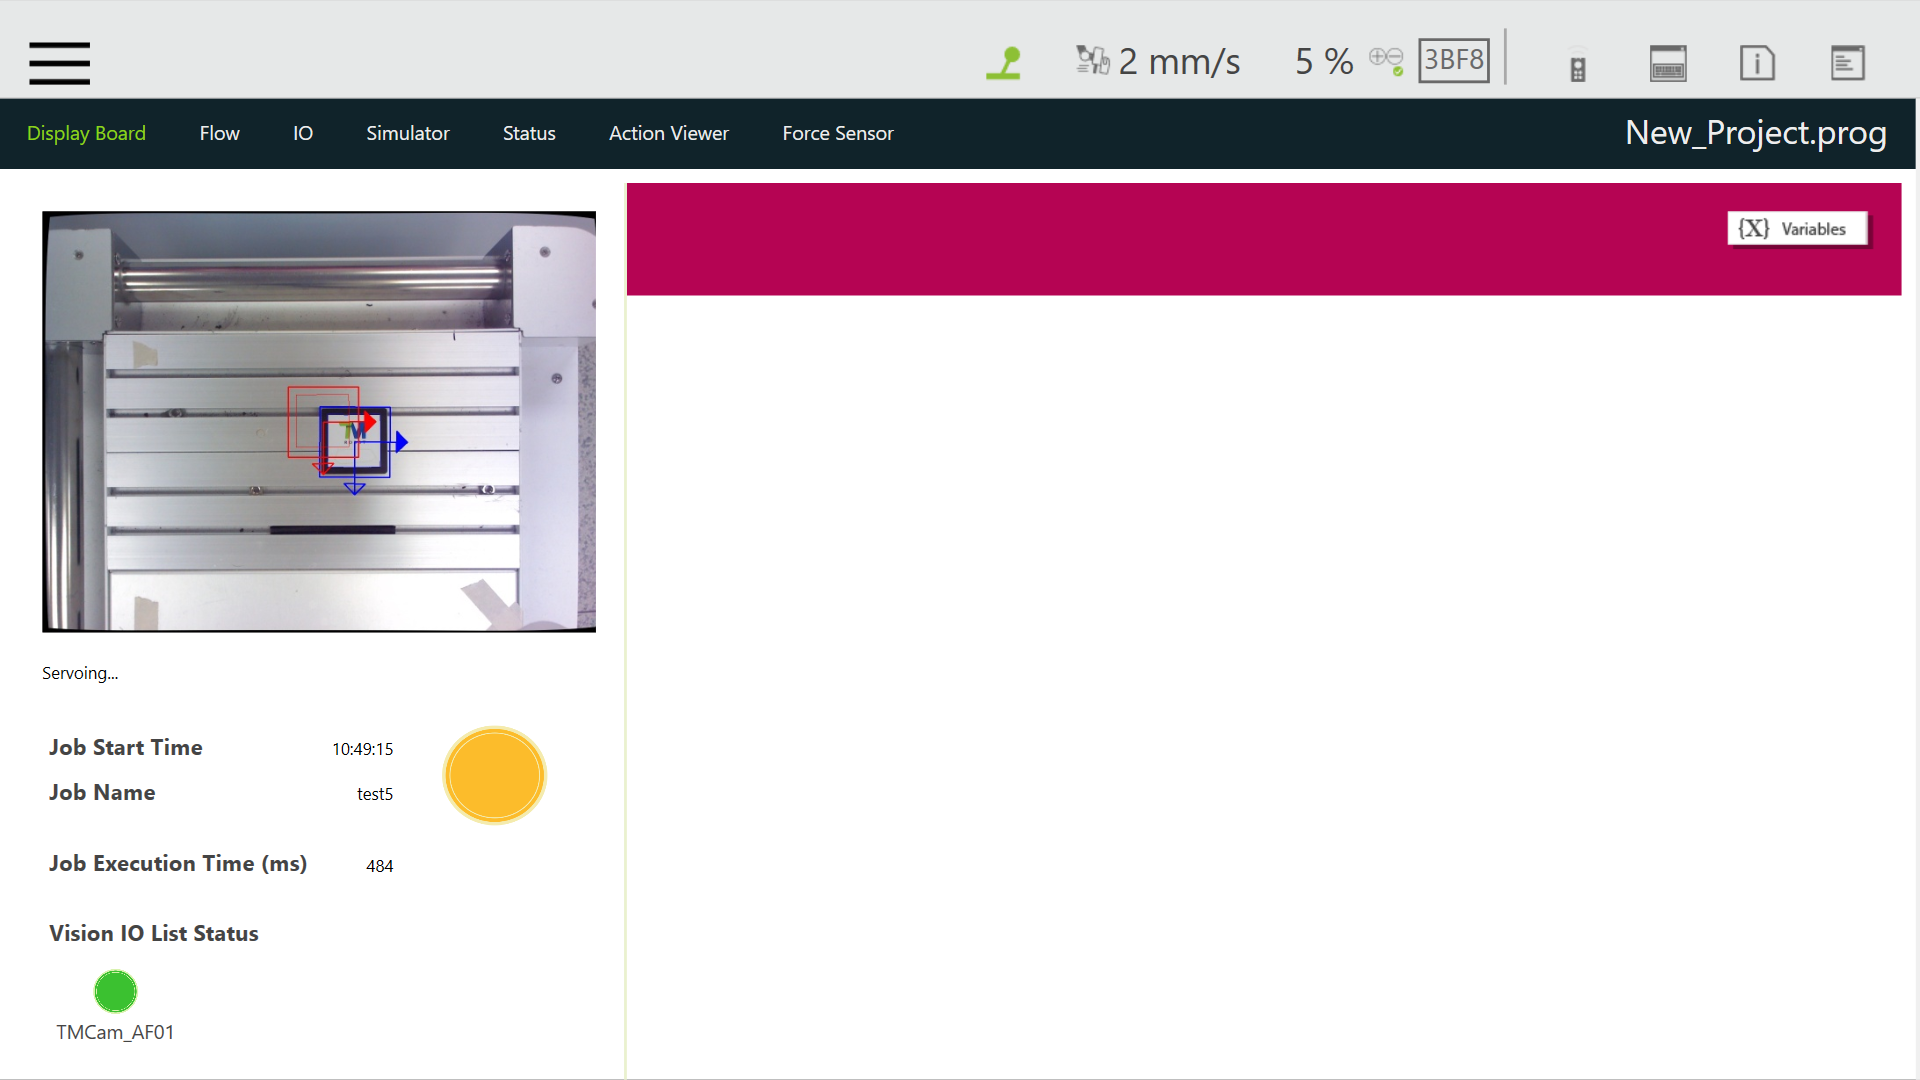
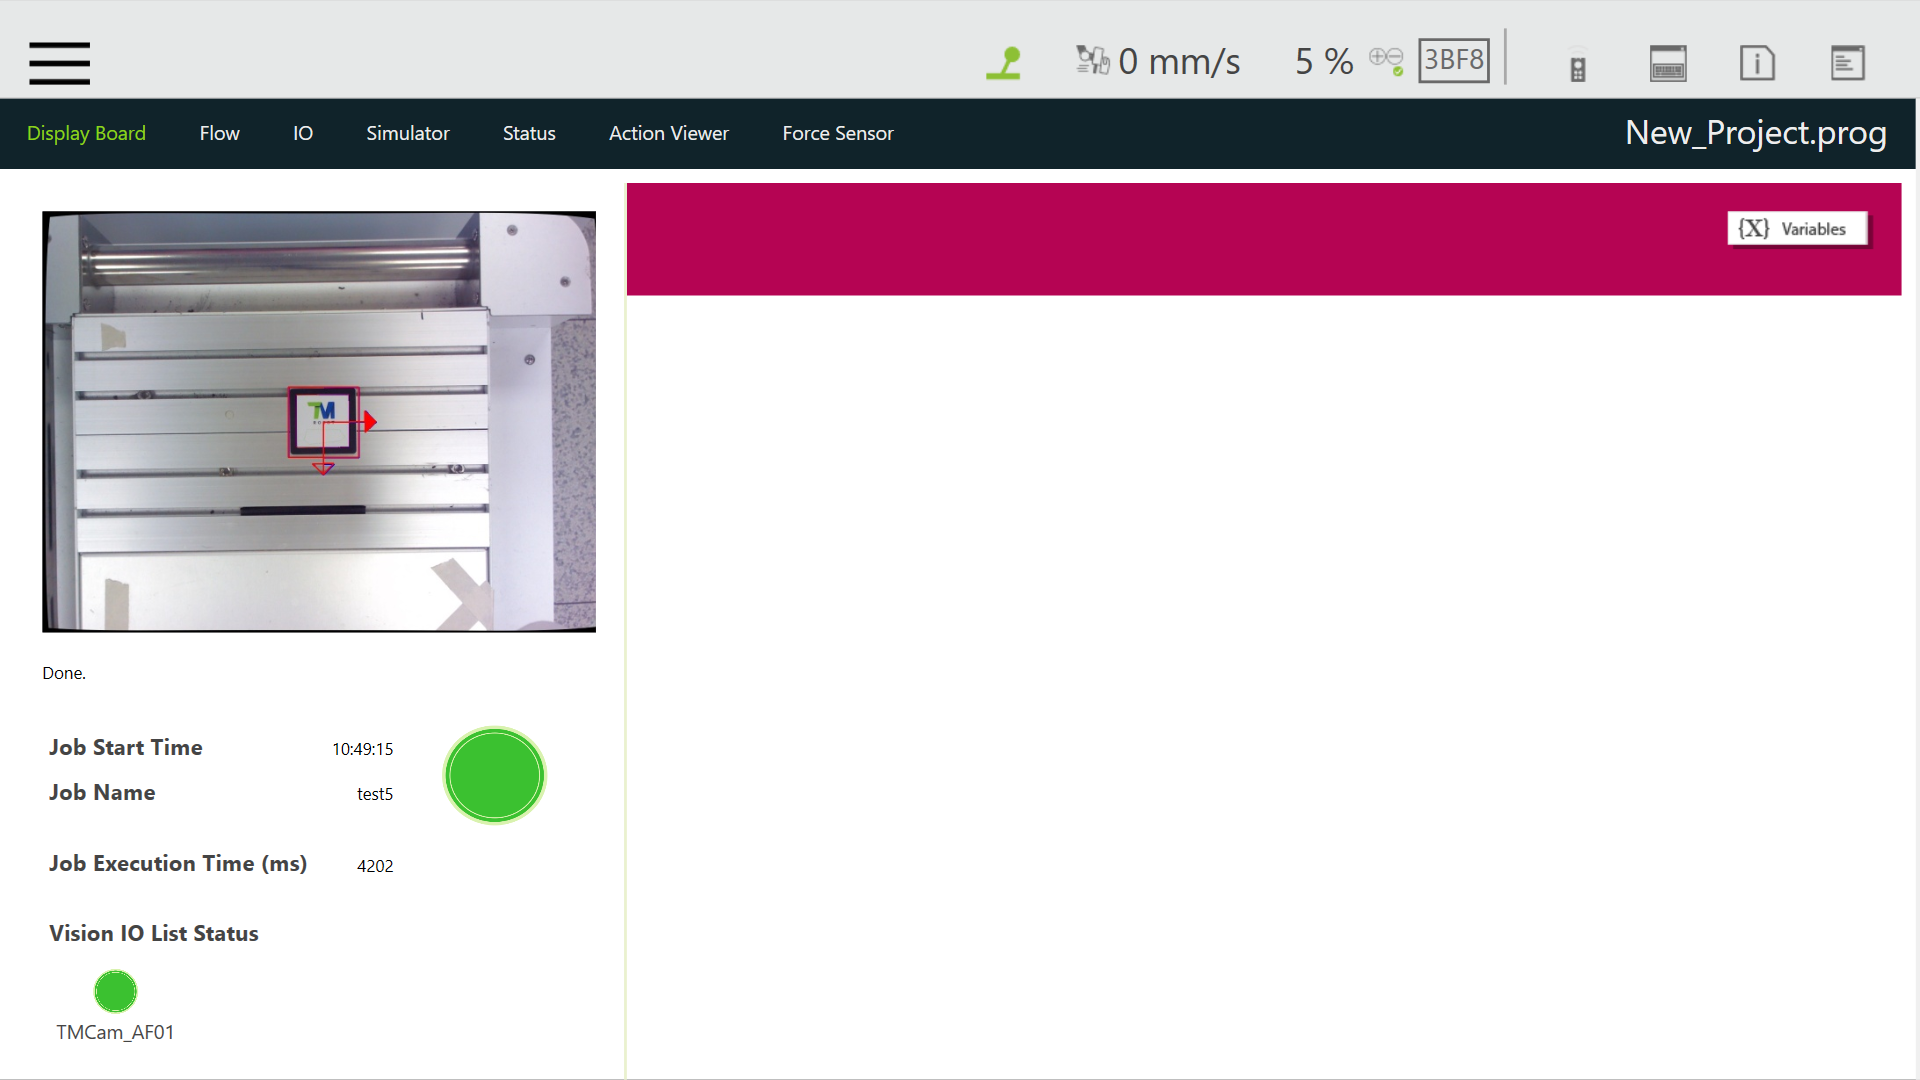
The visual servoing vision job is successfully executed. The robot has moved to the center’s of the pattern.


