Overview #
The chapter will introduce the operation interface of TMflow, including the icons in the function menu: Login/Logout, Connect, View, Run Setting, Project, Setting, and System.
Navigate to and click to expand the function menu. The listed icons from top to bottom are:
- Login/Logout: login/logout to start/stop using the robot
- Connect: list the available robots
- View: display page when the project is running
- Run Setting: project list and the default project to run
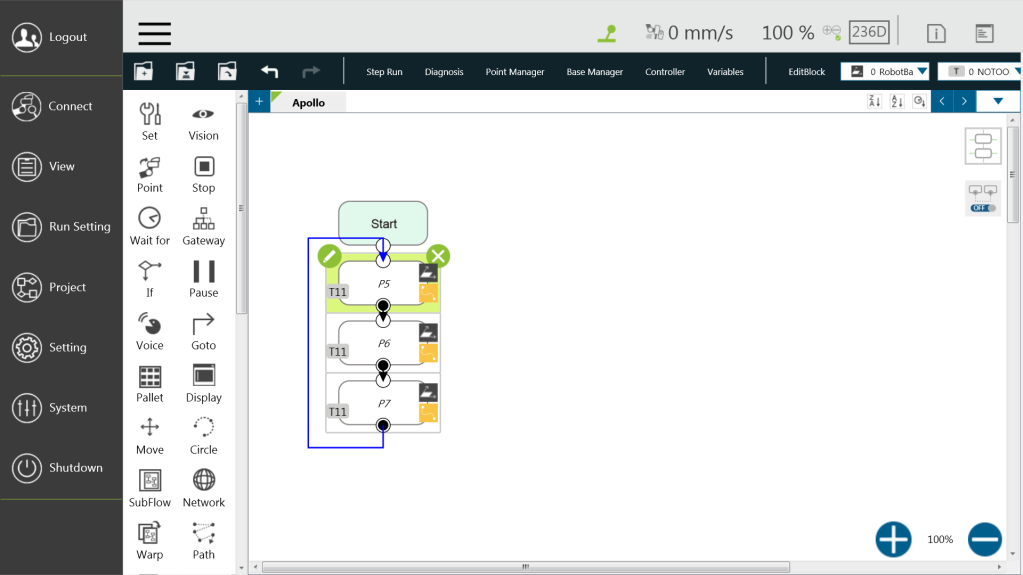
- Project: create or edit the project
- Setting: the robot setting
- System: the system setting
- Shutdown: turn off the system
Login/Logout #
The login window will pop up when clicking Login. Enter your account number and password to start using the robot.
CAUTION: The default account is administrator, and the default password is blank.
Connection #
Local Connection #
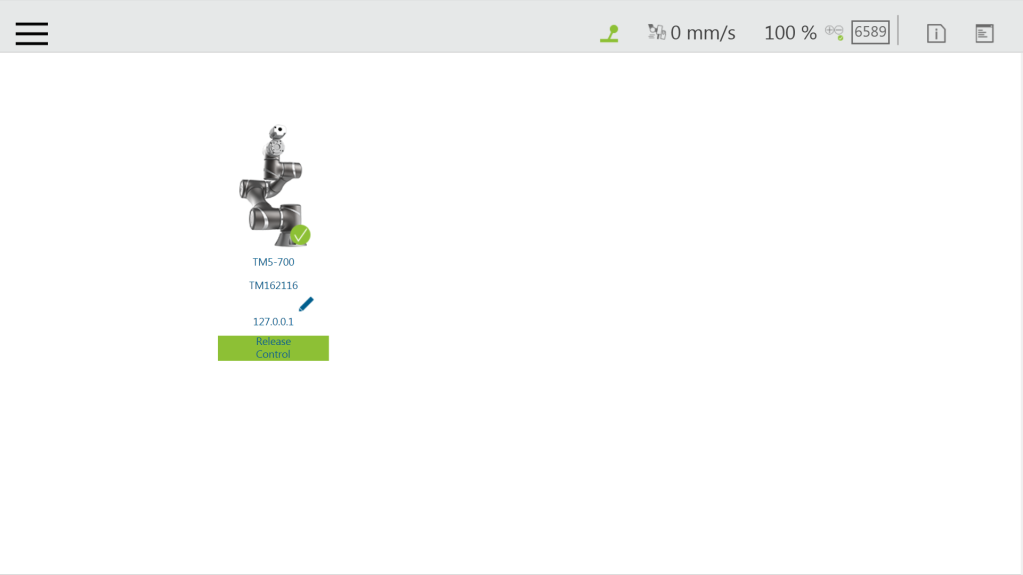
To control the robot with the screen, keyboard, and mouse via the Control Box, follow the instructions below to log in and connect. After completing log-in, click Get Control as shown below to control the robot. To release the control to the robot, click Release Control.
Remote Connection #
To control the robot from a remote device (desktop, laptop, or tablet), follow the instructions below before log-in. Click the upper left corner to refresh the robot list. Available robots will be displayed with their images, models, IDs, Nicknames, IP addresses, and occupancy in the list. Double-click the available robot to bring up the Login pop-up window and allow for login. Click the Get Control button below the robot to get control. To release the control, click Release Control again. Refer to Chapter 2 for details. A warning message will prompt users to use the same version of TMflow for connection if the versions between the client and the host are different.

View #
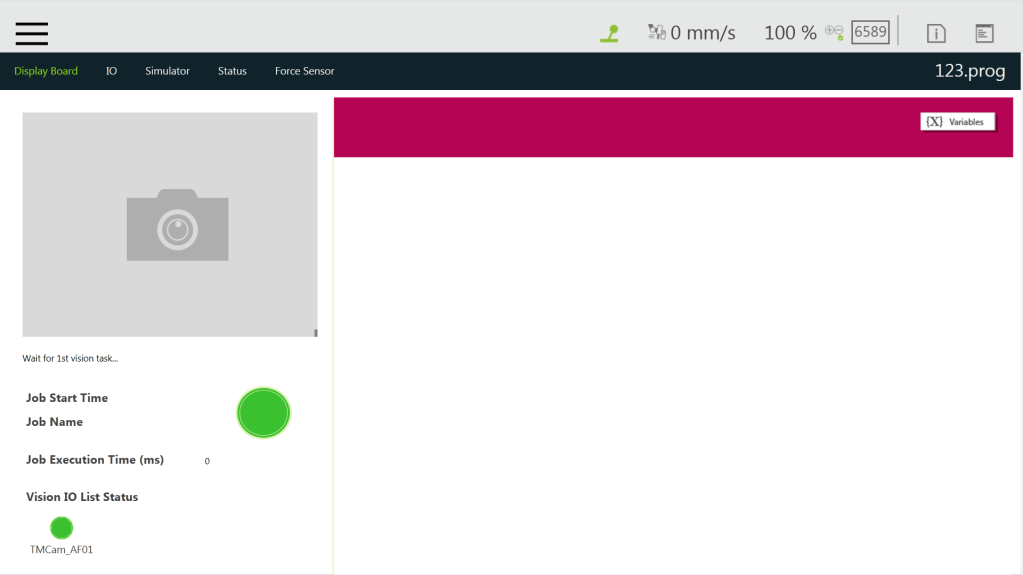
On the view page, users can monitor project progress and the robot, as the figures below from left to right are Display Board, IO, Simulator, Status, Force Sensor, and Vision Viewer.
Run Setting #
In Run Setting, all executable projects can be viewed. The running method of Trial Run is performed in Manual Mode. After adjusting the speed, while the project is running, press and hold the M/A Mode Button and press the +/- buttons on the Robot Stick in this order: “+ – + + -” to change to Auto Mode and complete the project with the complete Trial Run procedure and ensure the safety while running. The robot will stay still in Auto mode until you press the play button on the robot stick.
In Manual Mode, the project speed will start with the initial speed at 5%.
Robot Setting #
The parameters related to the robot can be set in the Robot Setting. The parameters, from left to right and from top to bottom are Wizard, Vision Setting, TCP, IO Setting, Safety, Controller, Speech, End Button, Component, Operation Space, Command, Connection, Posture Setting, TMmanager, Global Variable, Text File Manager, Motion Setting, and TM AI+.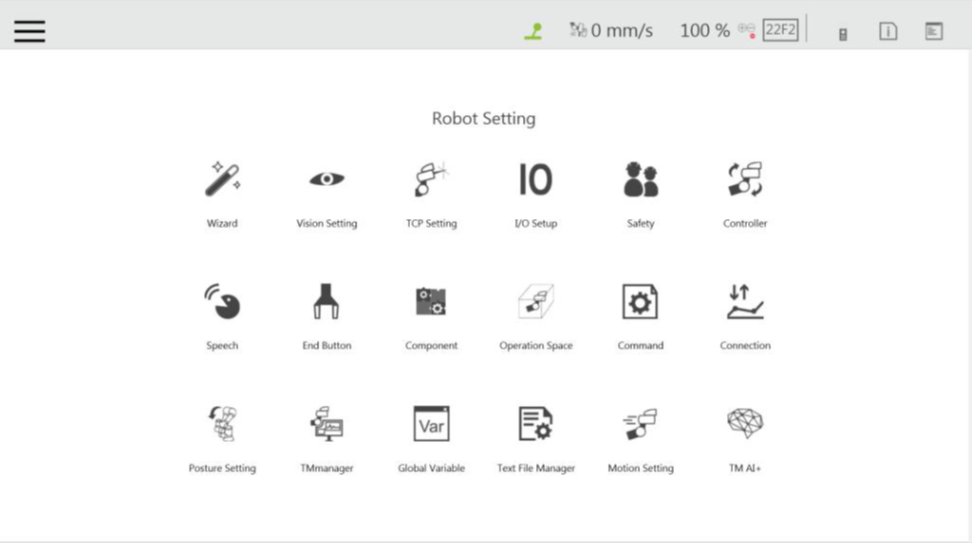
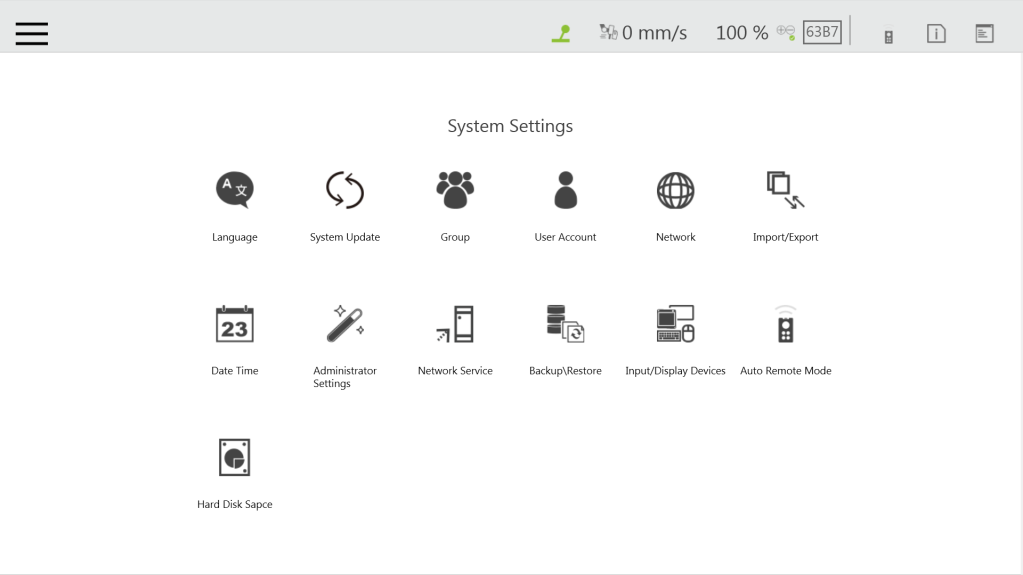
System Setting #
System Setting includes settings related to this software. From left to right and from top to bottom, they are Language, System Update, Group, User Account, Network, Import/Export, Date and Time, Administrator Setting, Network Service, Backup/Restore, Input/Display Device, Auto Remote mode, and Hard Disk Space.