Software Install Location: External IPC/PC
When the user operates the Dashboard, the TMflow Client will run in the background and automatically synchronize the Robot to obtain/write the variables, base, and other parameters of the robot. If there is a need to call the TMflow function on a specific page of the Dashboard (eg, modify the TCP parameters in the TMflow program), the developer can bounce TMflow from the background to the main screen through the Builder and allow users to use the existing TMflow UI resource (designated page) on the TMflow Client for programming without having to create a specific UI; when the user set up is completed, click the upper left button, TMflow Client is in passive mode and hides in the background again.
Q: How to install this TMflow Client on my personal computer?
1. Go to Techman Robot’s official website Download Center.
2. Select the software version (The latest version is recommended) and download it.
3. Unzip the folder.
4. Run TMSetup64.exe. (Run Updater if the previous version of TMflow was installed)
5. Follow the installation instructions.
NOTE:
- Minimum requirements of the client device to install TMflow are as follows:
- Operating System: Windows 7 SP 1
- CPU: Intel i5 series compatibles or above
- RAM:4 GB at least
- Hard Drive Space: 2 GB of available space
- Display Resolution: 1366 by 768
- Peripherals: USB ports and Ethernet ports
- Supported Languages: English, Traditional Chinese, Simplified Chinese, Japanese, German, Korean, Vietnamese, Spanish, French, Italian, Danish, Dutch, Czech, Hungarian, Romanian, Portuguese, Turkish, Polish, Thai
- Additional Requirements:
- 2010Redistributable_bcredist (x64/x86)
- 2013Redistributable_bcredist (x64/x86)
- 2015Redistributable_bcredist (x64/x86)
- .Net Framework 4.52 or above.
After installing the TMflow on a client device.
Step #1: Connect the robot to the same physical AP or entity AP of the same network segment.
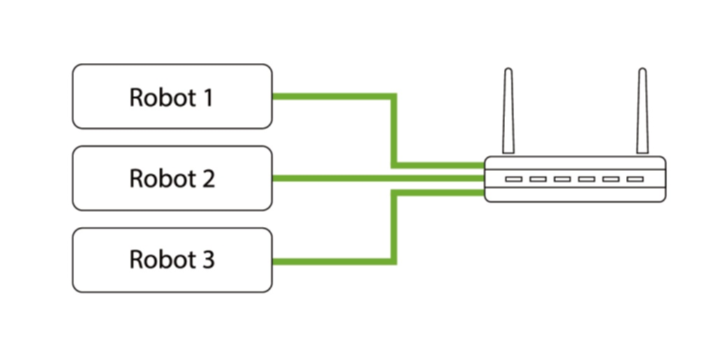
Step #2: Connect the client network to the above local area network.
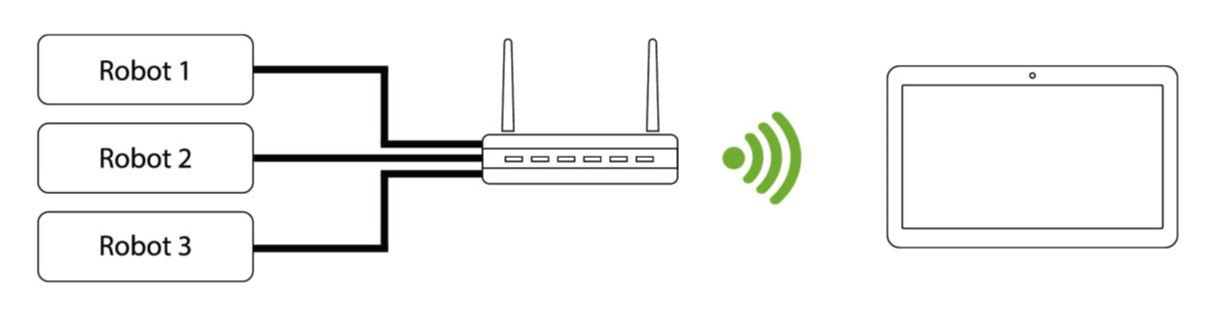
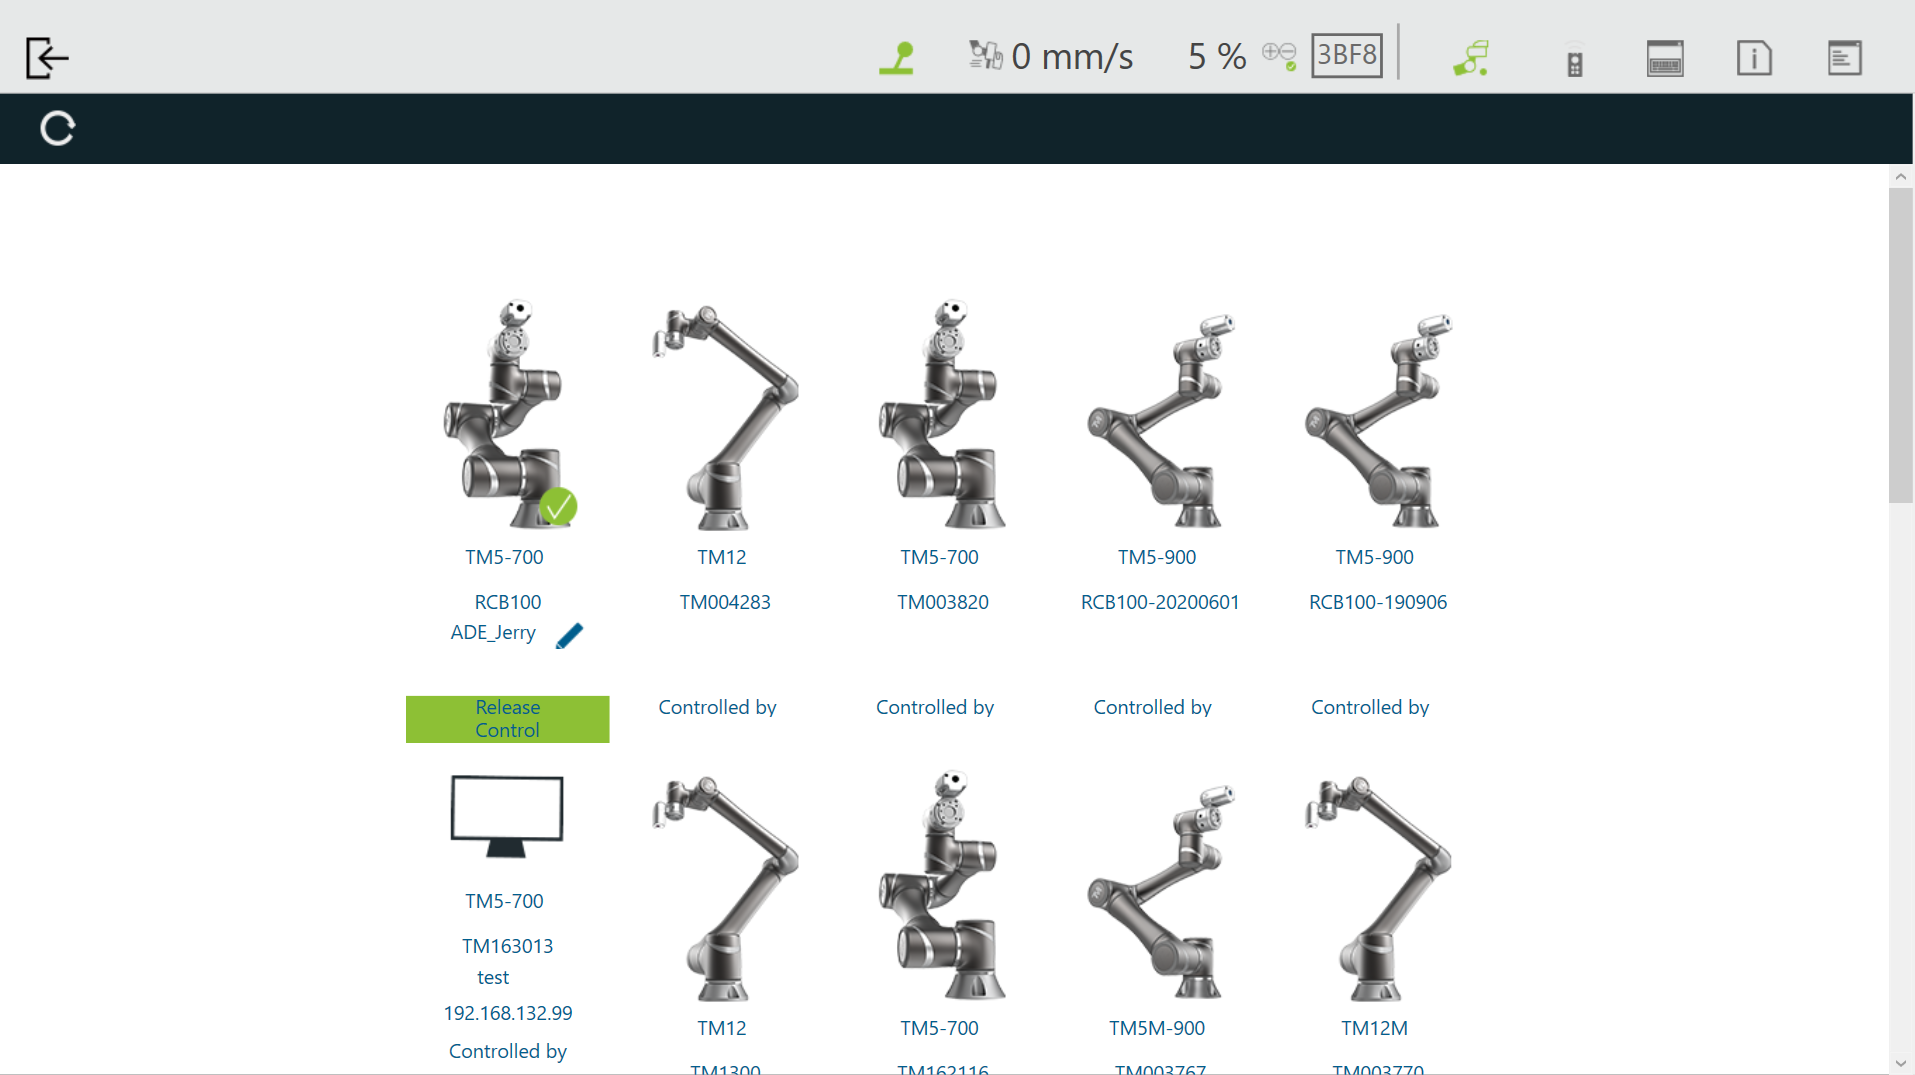
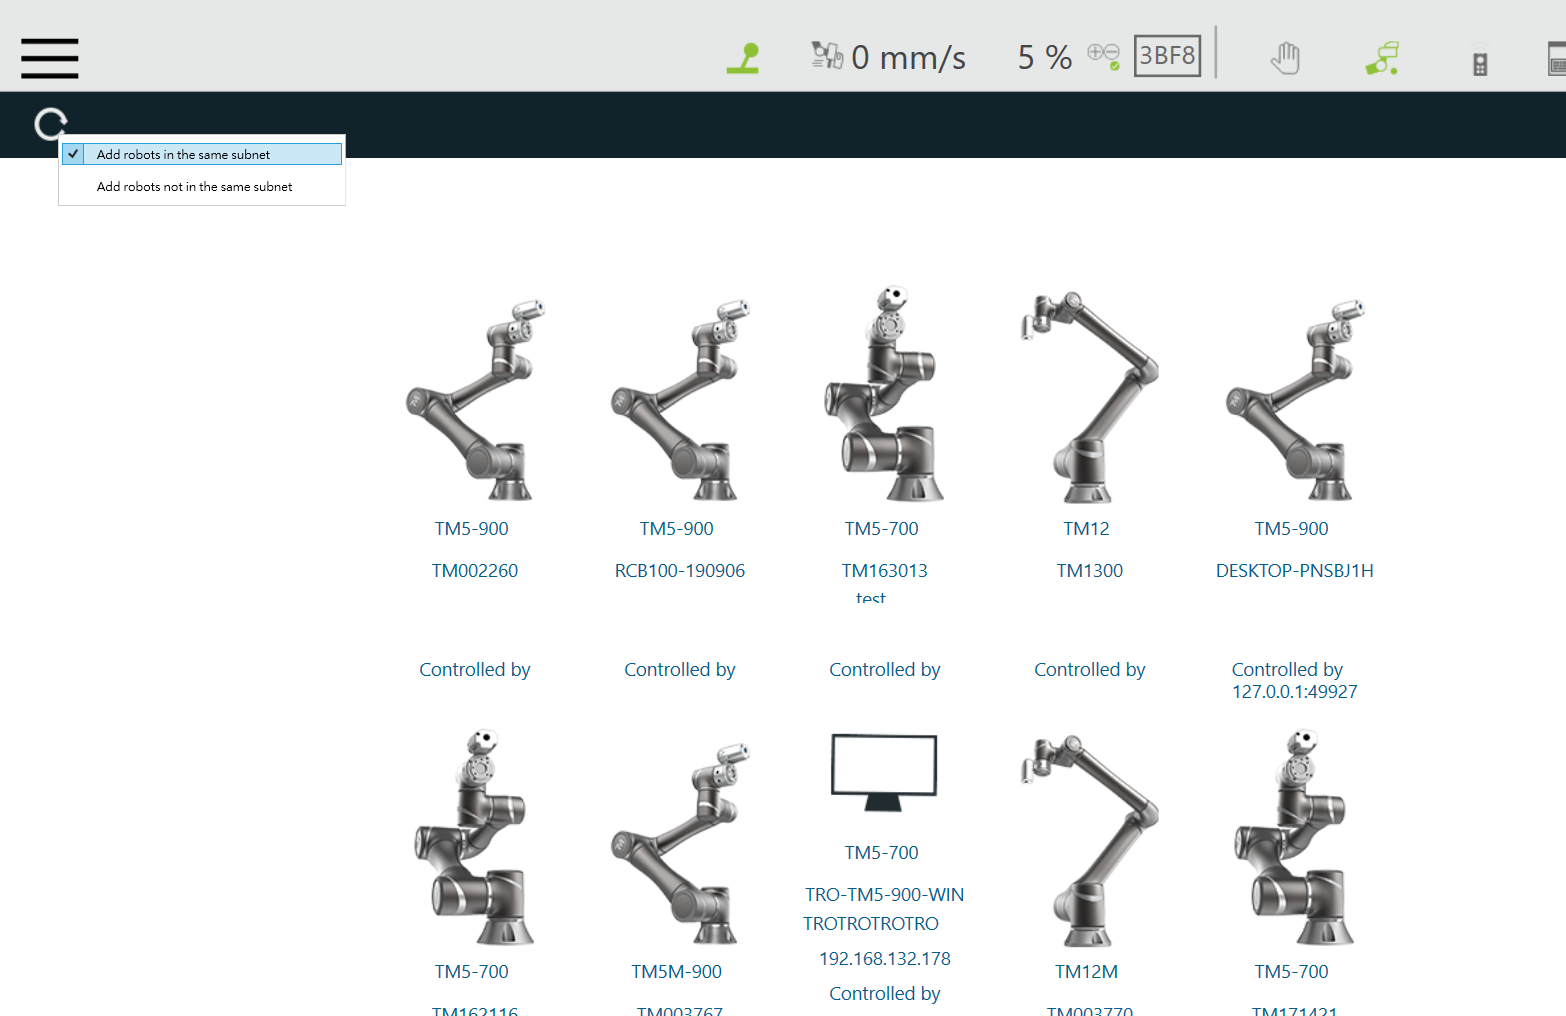
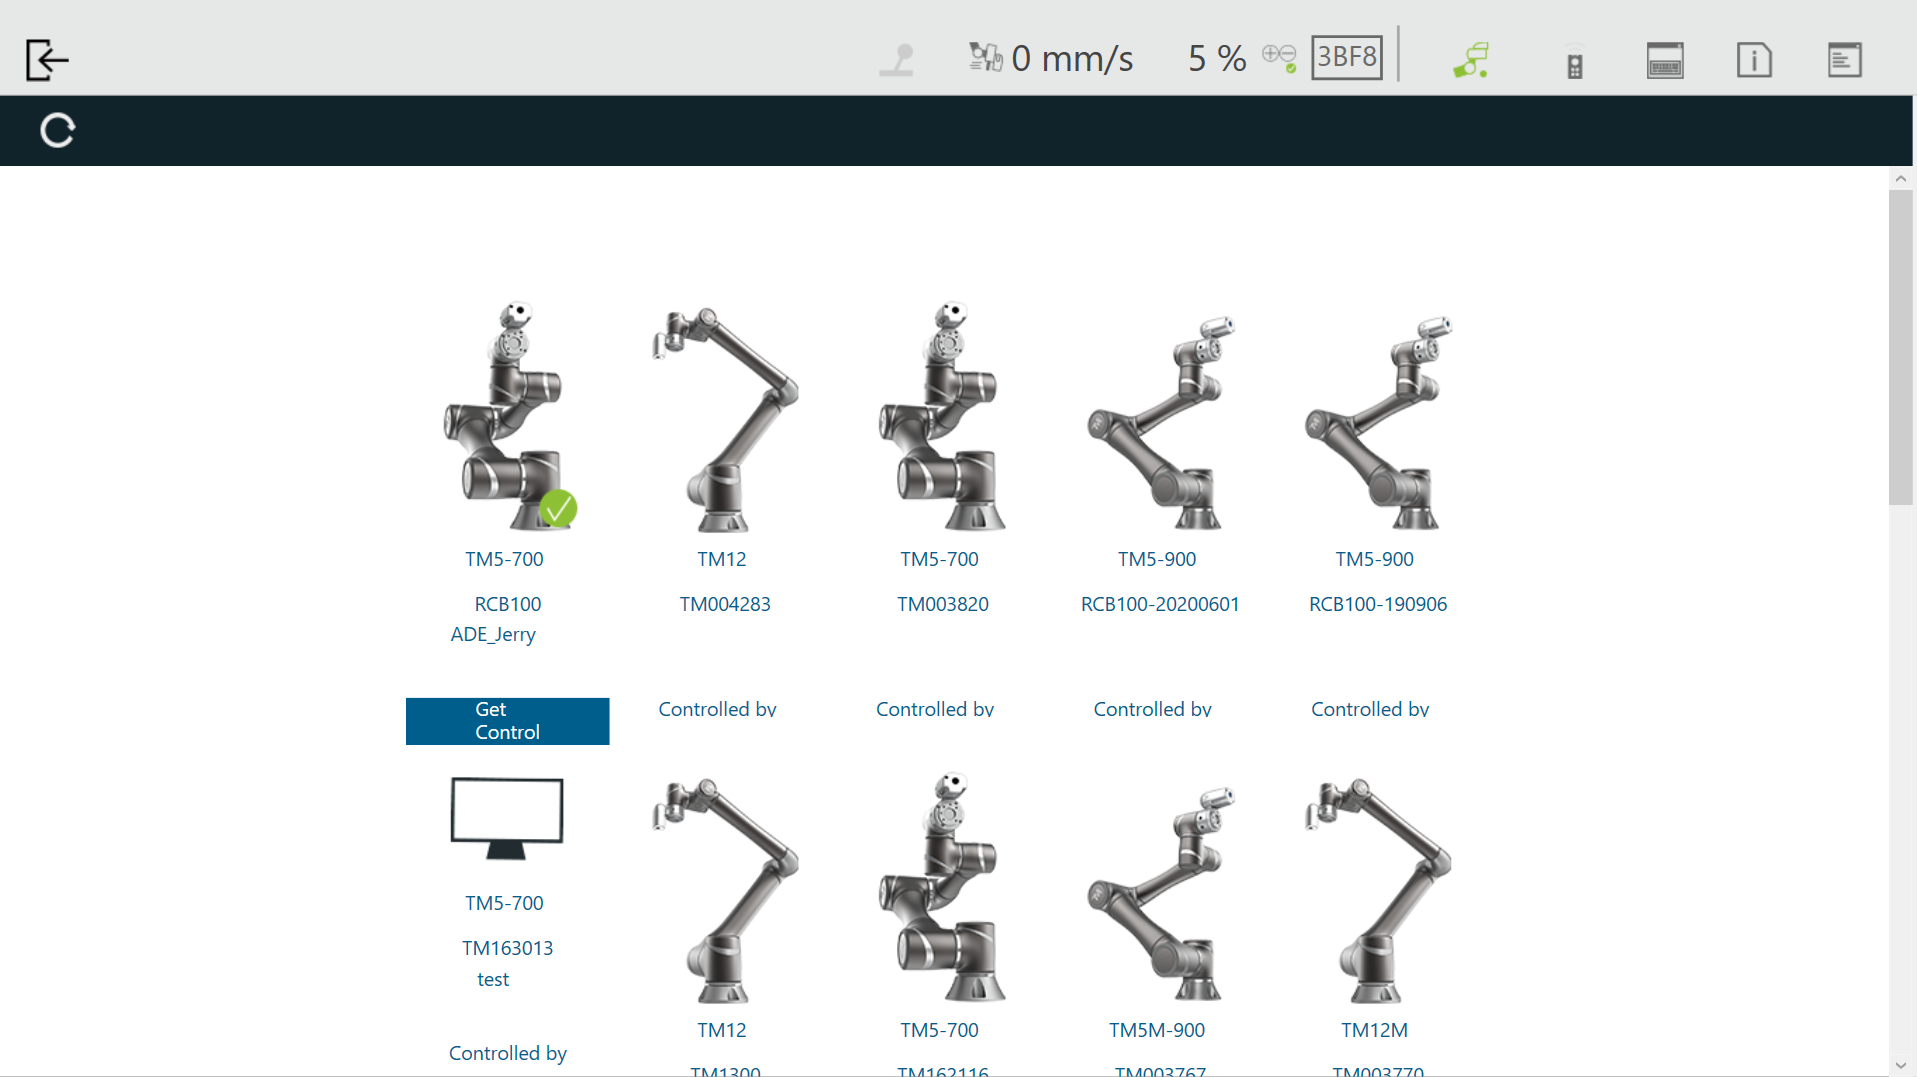
Step #3: Open TMflow on the client device, click the upper left corner to refresh the robot list, and wait for the corresponding Robot name to appear on the connection screen.
Step #4: Click the robot icon twice to connect with the robot.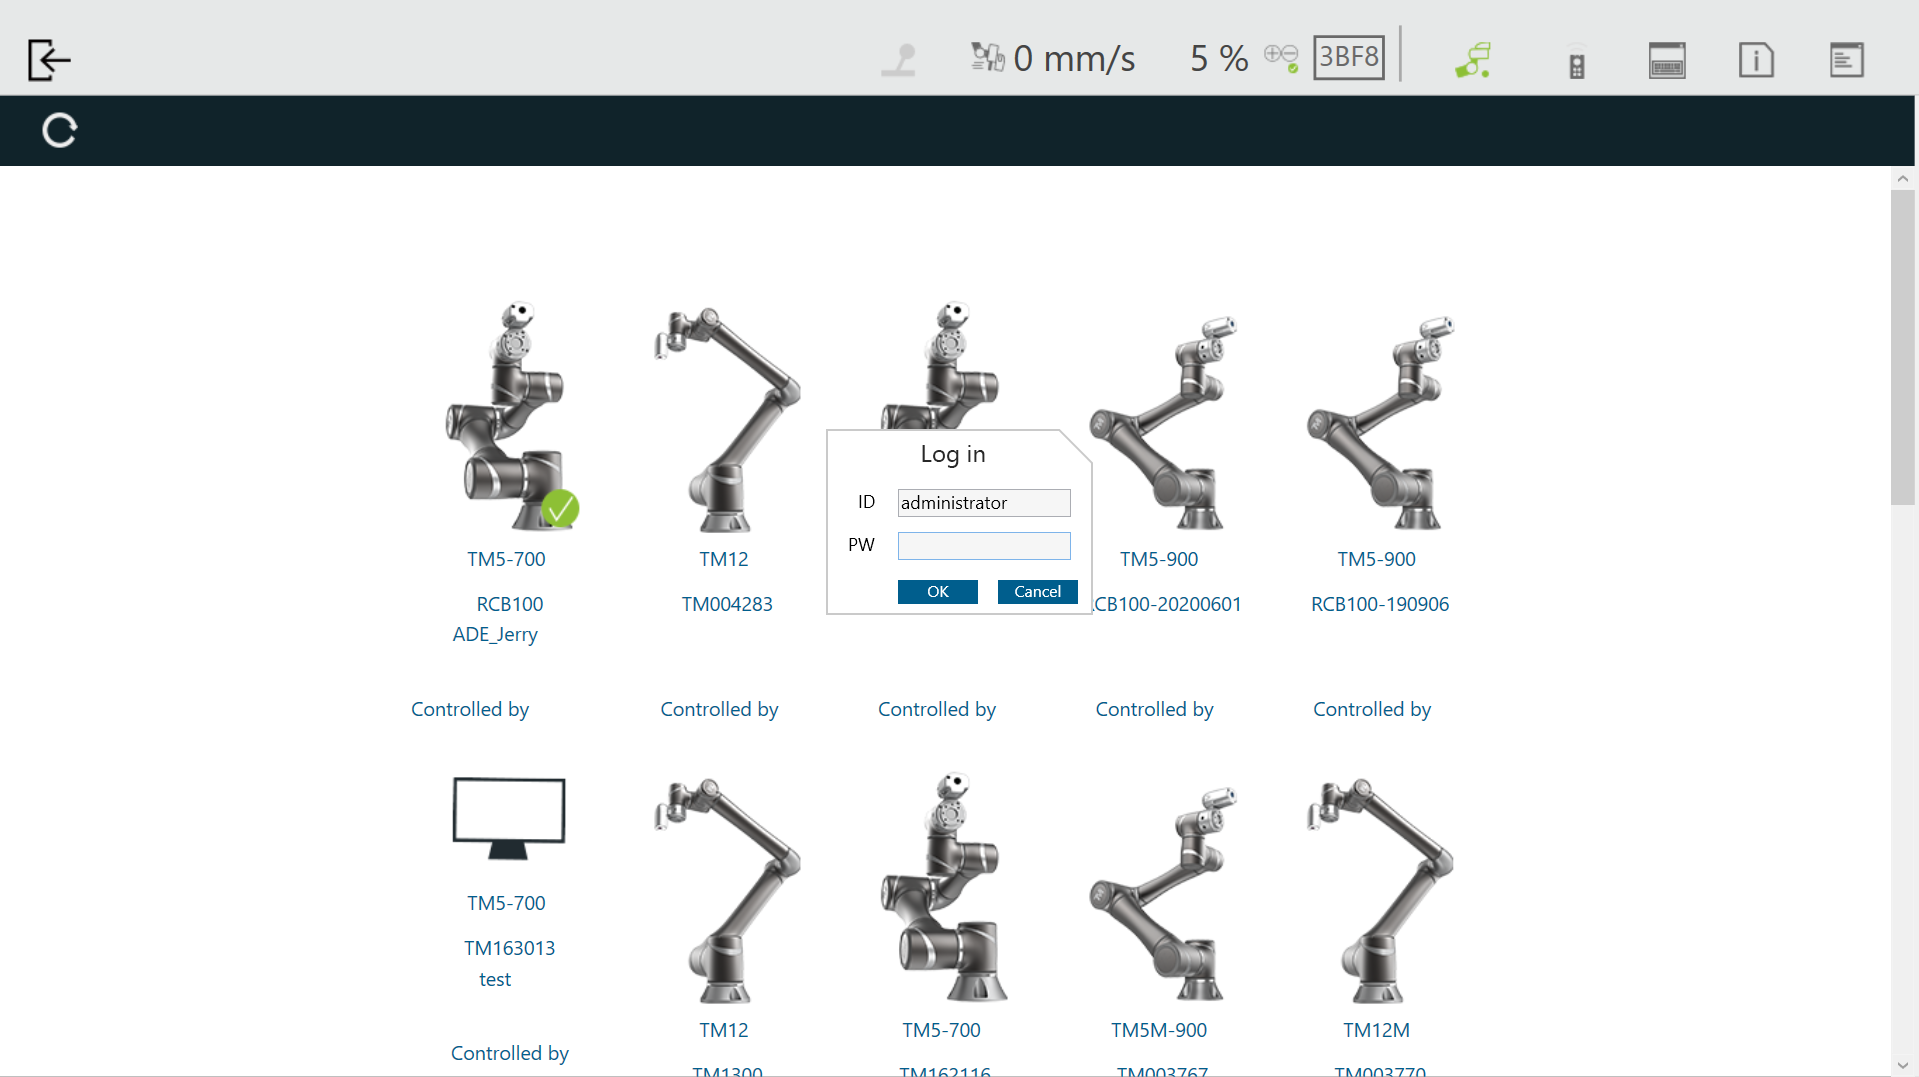
Step #5: Ensure that all the robots in this network segment appear on the screen. Users can distinguish which robot to be connected by the robot’s Robot ID (the number displayed below the QR code on the Robot Stick).
Step #6: When the robot connection is successful, the icon will appear on the screen on the robot and the robot icon will appear in the upper right corner.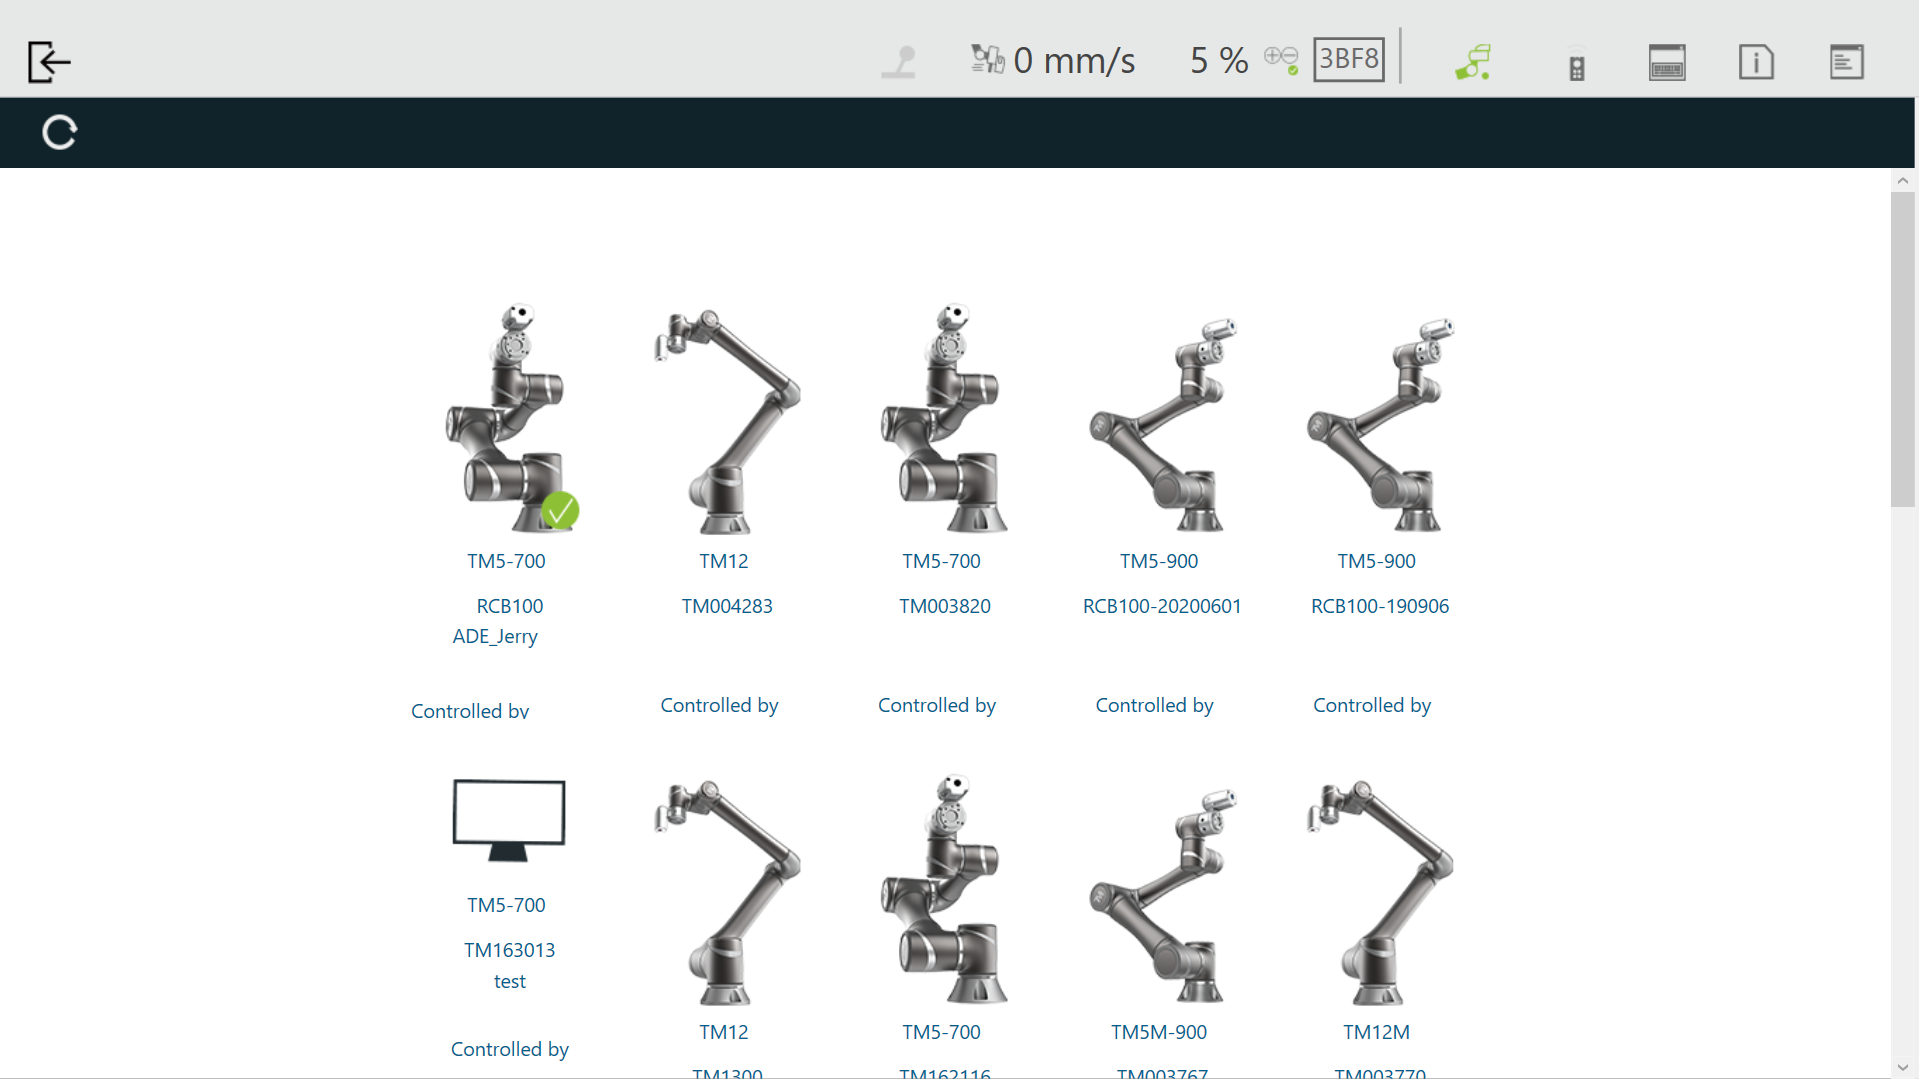
Step #7: Click Get Control to control the robot.
 —>
—>