
Using Smart Insert to Insert Objects
更新日 2026 / 03 / 03
Examples are valid for :
- TMflow Software version : 1.88 or above.
- TM Robot Hardware version : All versions.
- Other specific requirements : None
Note that older or latest software versions may have different result.
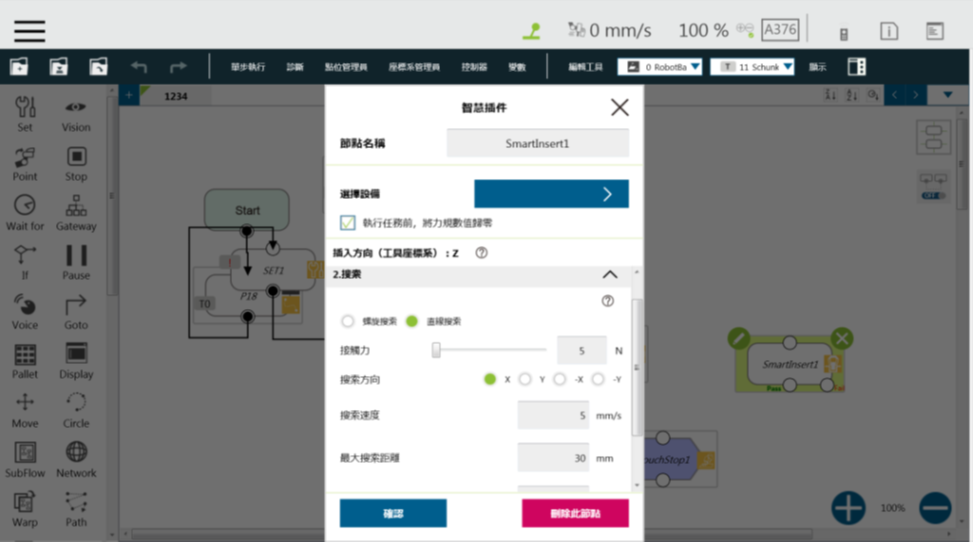
Smart Insert
The Smart Insert node is designed in such way that makes it easy and quick to set up characteristically difficult object assembly/insertion jobs, and equips the robot to execute such jobs.
The insertion act performed through the node takes place in three sequential steps: Approaching, Searching, and Inserting. These three steps are described as follows. (Note that Smart Insert must be used with the force sensor, a TM Plug&Play product.)
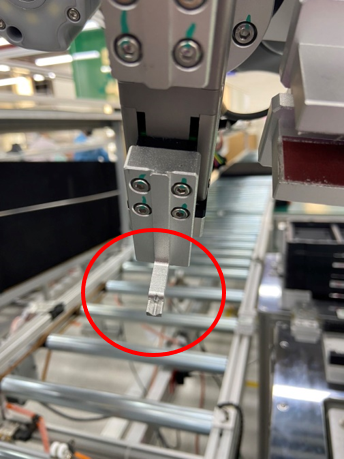
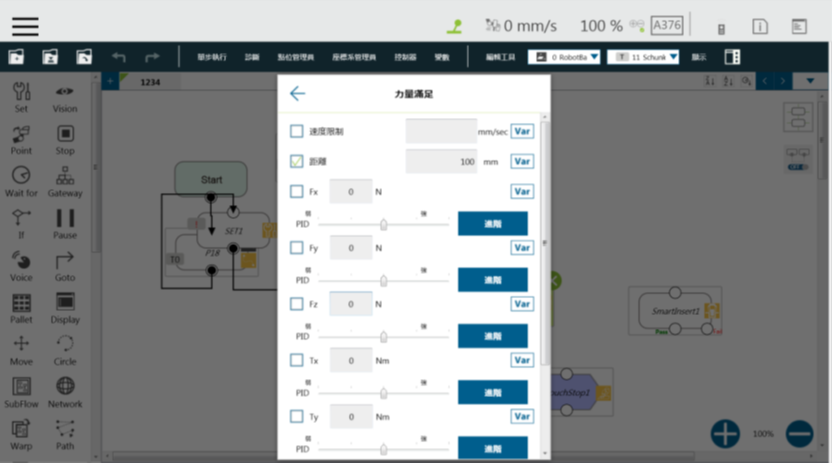
- Approaching : Bring the object to be inserted close to where assembly takes place, until the force sensors detects a 5N resistance.
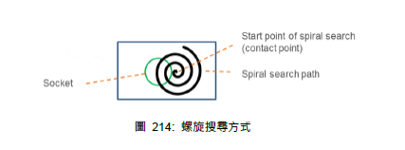
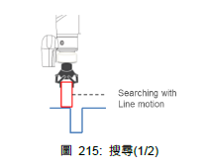
- Searching: Search the hole positions of the mating parts in a spiral or linear way. Normally, spiral searching is performed for DRAM insertions, and linear searching for an insertion hole.
- Inserting: Move in the insertion direction. If contact is made in other directions, the movement will be reversed.
To insert an object, use a Smart Insert Node with a Force Node. Make sure that the approach contact force is 5N for Smart Insert. Smart Insert can only be used if the object to be inserted withstands a forward force of more than 5N. If not, you can use a Force Node to choose the insertion angle and approach point and avoid damaging the object.
Force Node
- As far as DRAM insertion is concerned, you can use a gripper to deliver more stable insertion force, or insert DRAM at an angle along the edge.
- Downforce is very different between early and new robots. The insertion force of the early ones is often weakened after several tests.
この記事は役に立ちましたか?