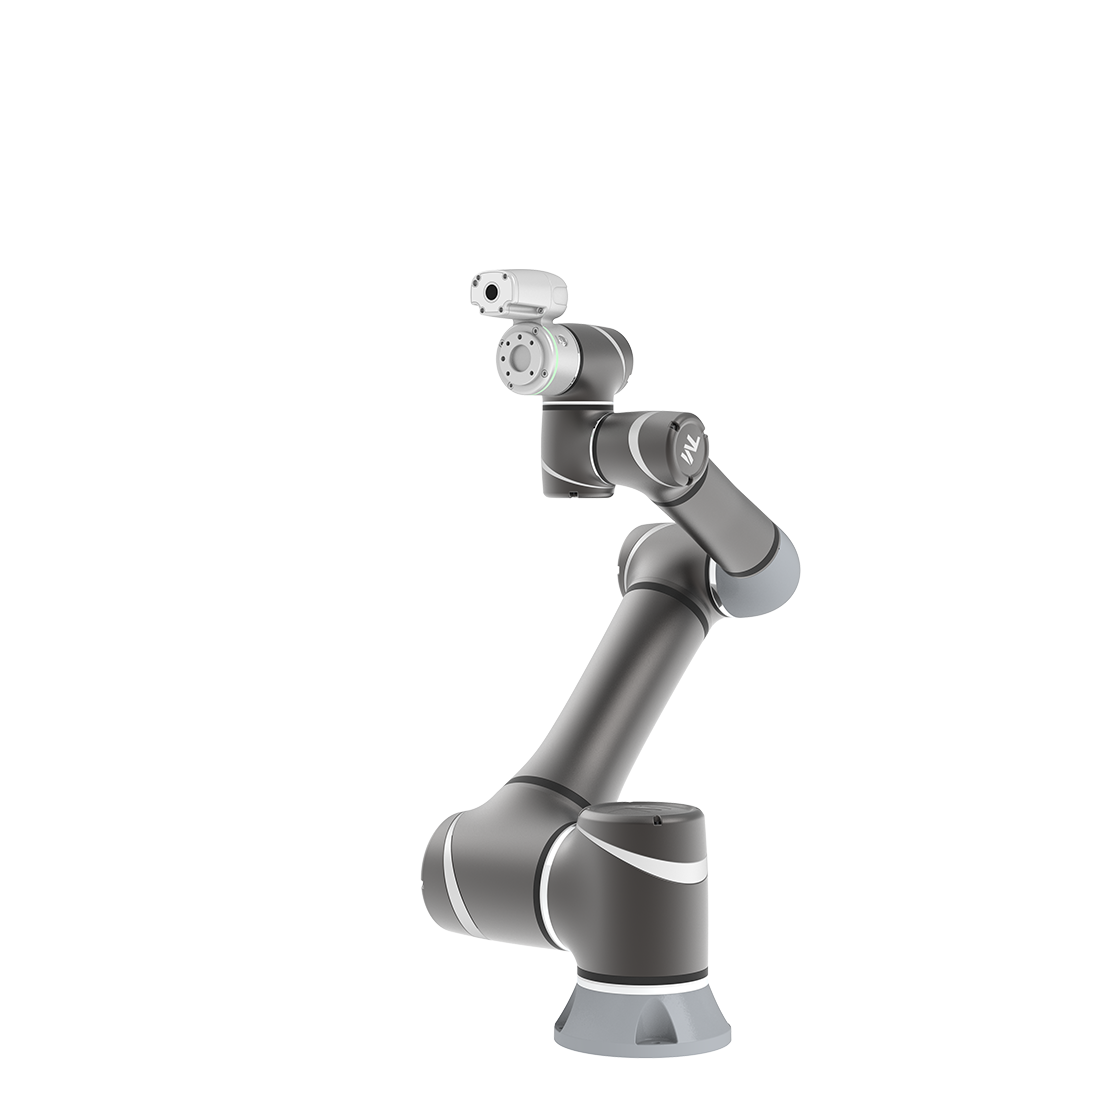
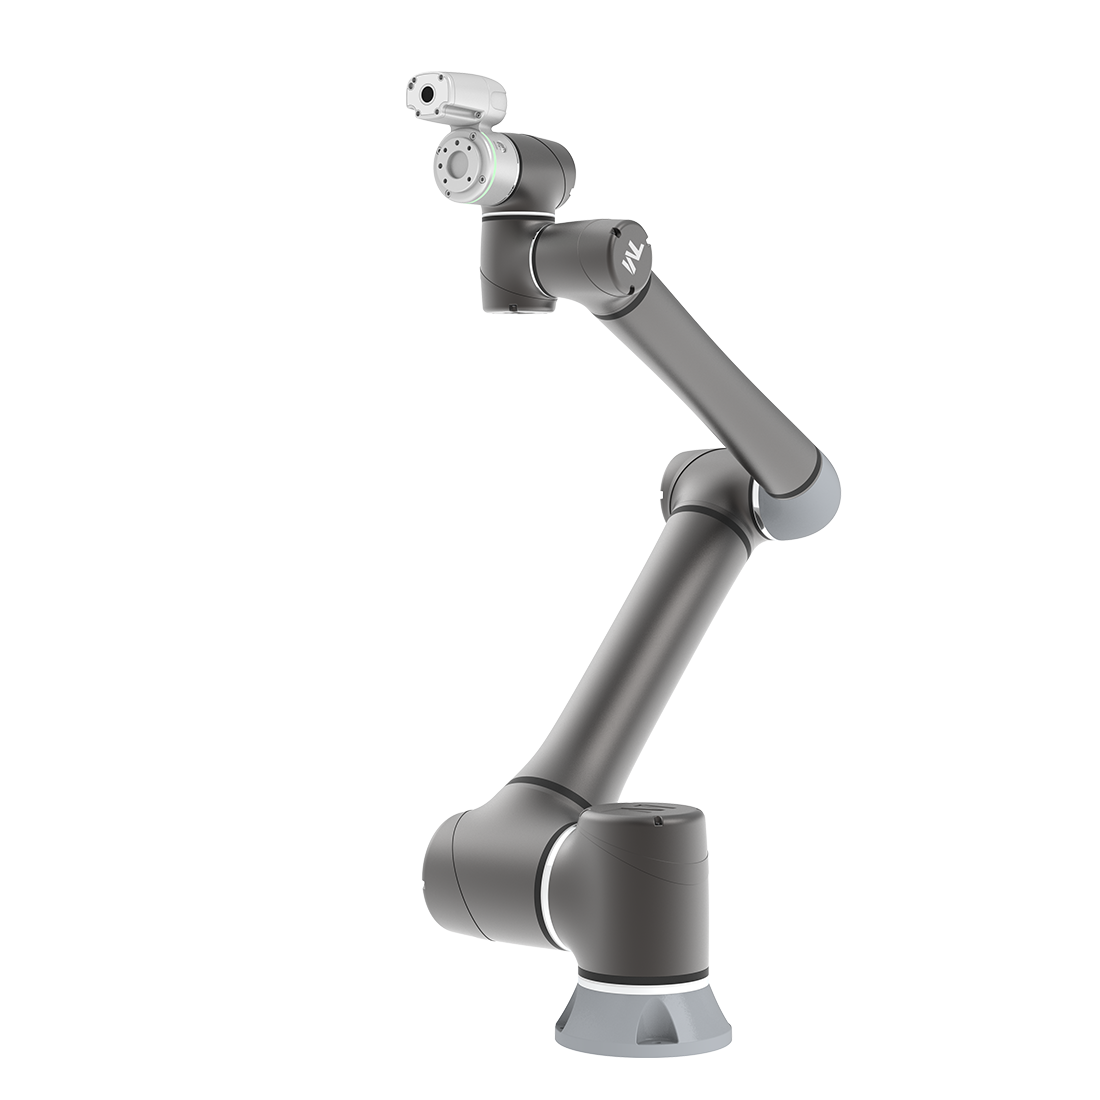
Install Robotiq Epick AirPick Gripper Components on TM robot
Updated on 2026 / 08 / 27
Examples are valid for :
TMflow Software version : All versions
TM Robot Hardware version : All versions
Other specific requirements : None
Note that older or newer software versions may have different results.
Installation Procedures
- Download the TM Plug & Play Software Package compression files on the official website.
- Rename the USB storage device ''TMROBOT''. Make sure the drive format is NTFS.
- Place the zipped component files in the USB with the folder directory TMROBOT:\TM_Export\TMComponent\ComponentObject\component_zipped_file
- Insert the USB storage device to the robot controller.
- The import process can refer to the article.
Assigning Gripper Button by using Customized Component
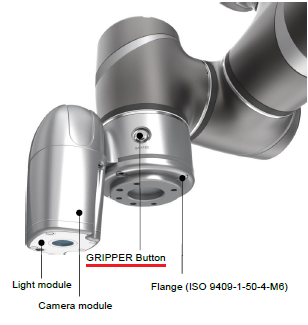
Step #1: From the TMflow homepage, click the icon
and select the Setting icon.
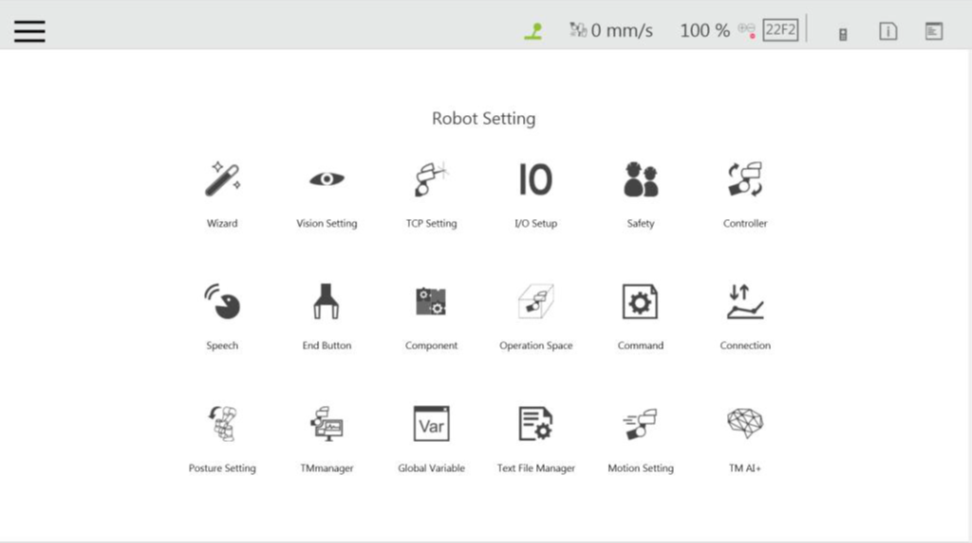
Step #2: Click on Gripper Button

.
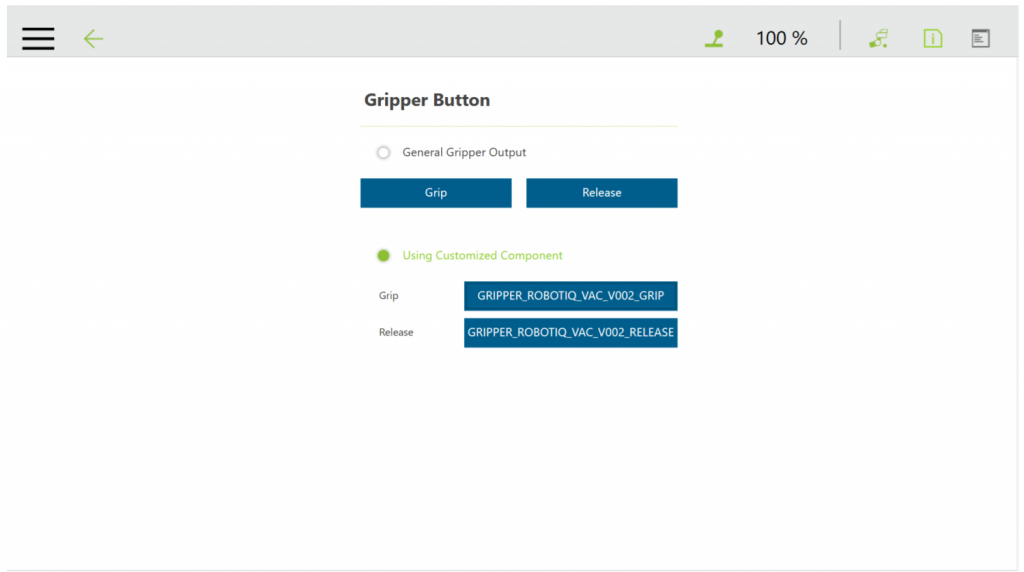
Step #3: In the GripperButtonwindow, tick the Using Customized Component radio button and select the Component you want to assign to either one of the Gripper actions (Grip / Release).
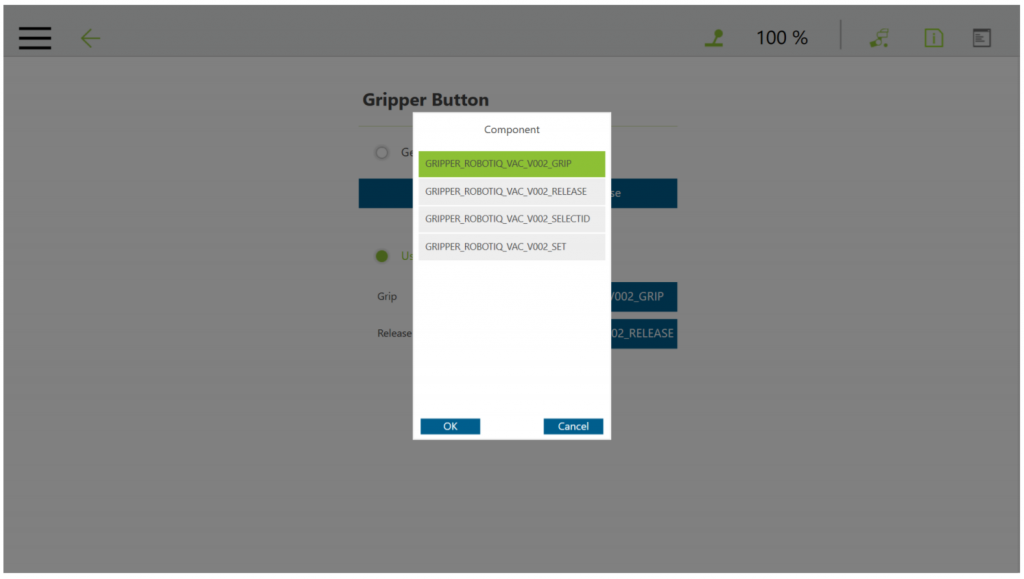
Step #4: In the pop-up window, select or change the Component you wish to assign to the Gripper action/button and click OK.
Was this article helpful ?