
[EtherNet/IP] Read/Write Values to a PLC
Updated on 2026 / 08 / 27
EtherNet/IP functions are applicable to:
TMflow Software version: v1.82.1000 or above
TM robot Hardware version: HW 3.0 or above
- For hardware configuration of ethernet/ip, please refer to technical document : [EtherNet/IP] Communication Protocol on TM
- For driver configuration tutorial, please referto technical document : [EtherNet/IP] Configuring Devices
Functions
Read Functions
o eip_read_input()
o eip_read_input_int()
o eip_read_input_float()
o eip_read_input_string()
o eip_read_input_bit()
o eip_read_output()
o eip_read_output_int()
o eip_read_output_float()
o eip_read_output_string()
o eip_read_output_bit()Write Functions
o eip_write_output()
o eip_write_output_bit()
Detailed explanations and examples can be found in the Expression Editor Manual Download Center
Setting up TM official data type, the tutorial can be found in technical document article title : [ EtherNet/IP Mapping TM User-Defined Data Types to Rockwell PLC]
Using TMflow to read/send value to a PLC
Step #1: Creating a blank TMflow project and create a project name.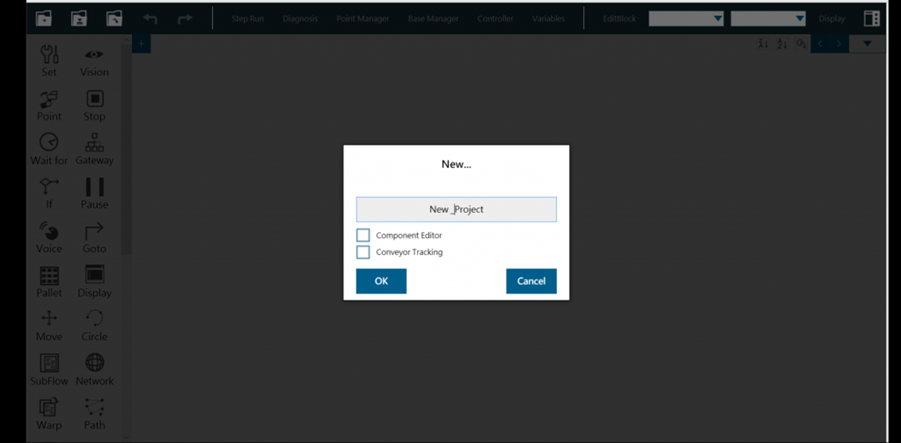
Step#2: Insert a 'SET' node from the left panel.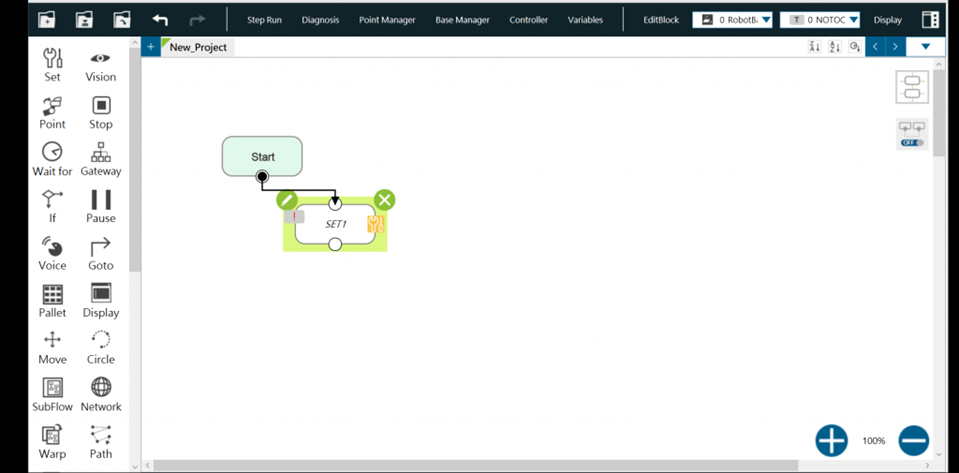
Step #3: Click the pencil icon on the upper left corner.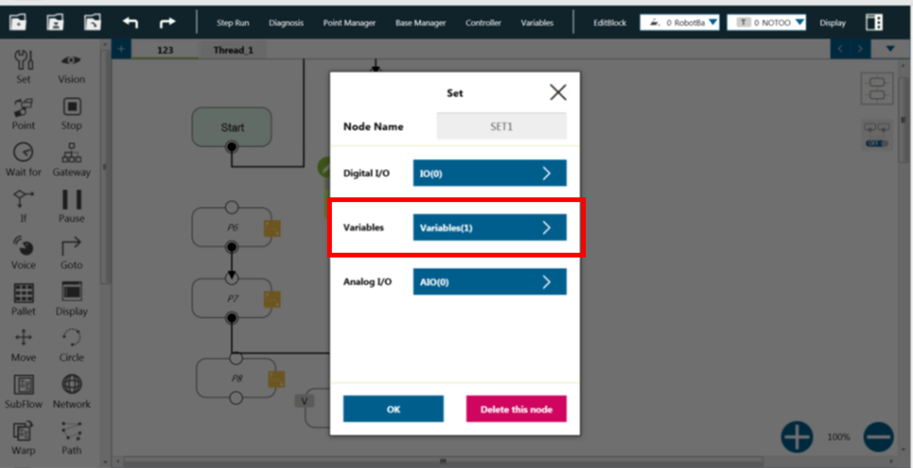
Step #4: Click on the right box (green area). A pop-up window is shown.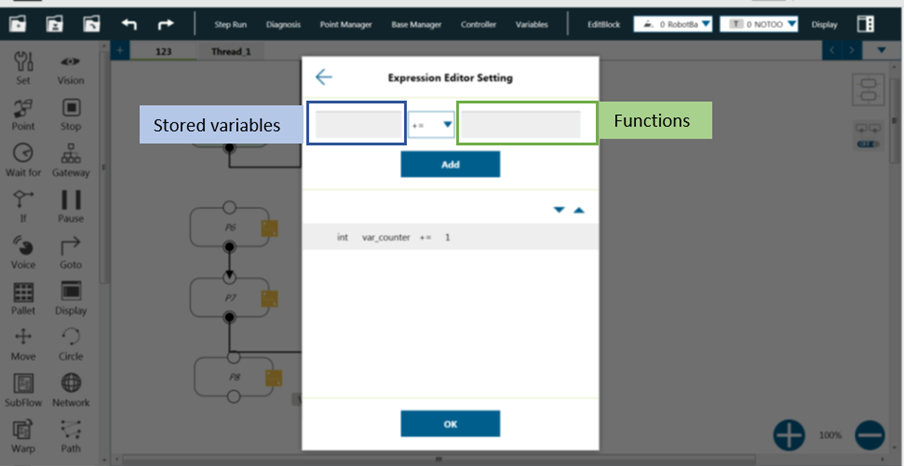
Step #5: Choose 'Connection', and select 'EtherNet/IP'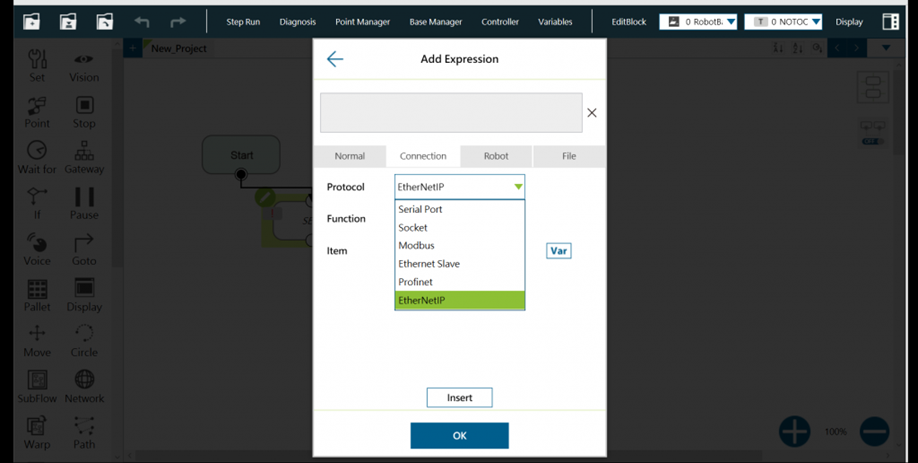
Step #6: Choose any function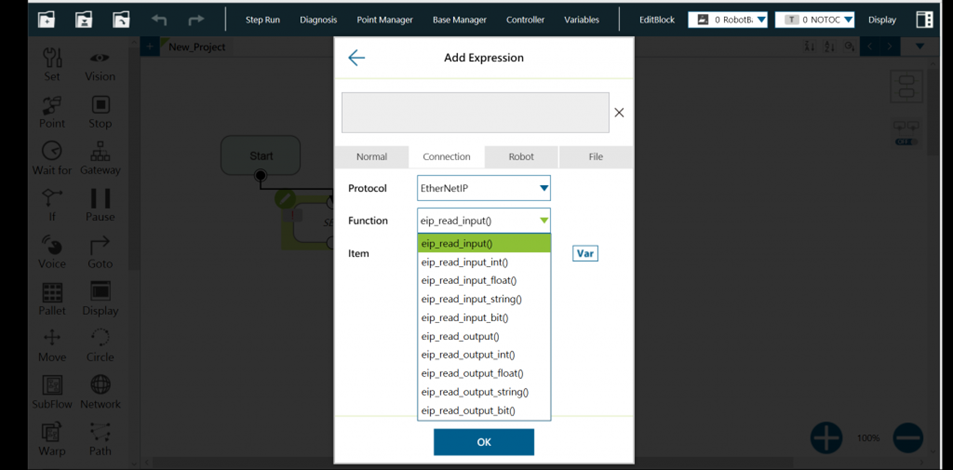
Step #7: Choose any item, and click 'ok'.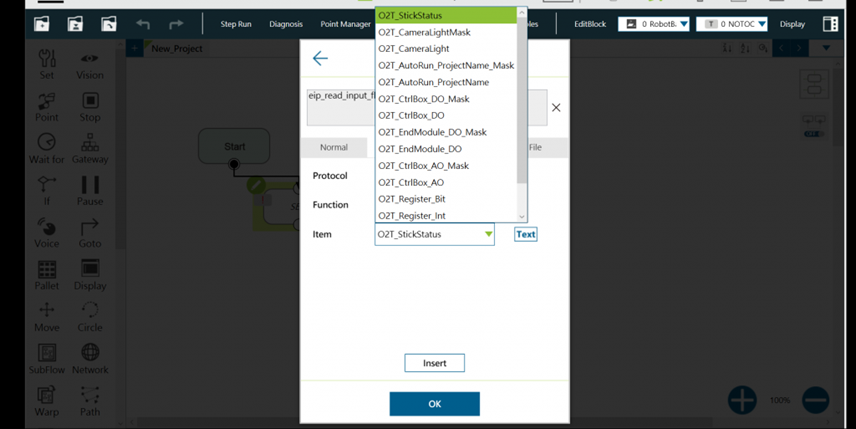
Step #8: Click 'Insert' and click 'ok' then.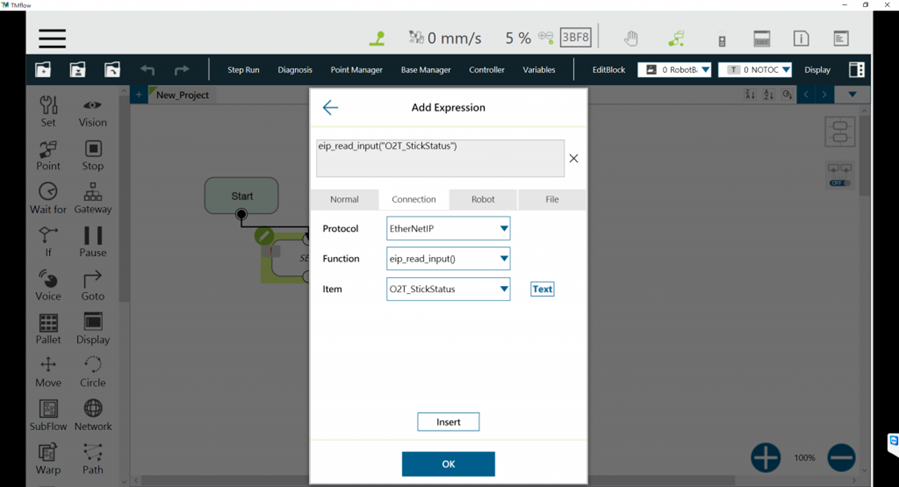
Step #9a: Create a variable to store the results. The data type must be compatible.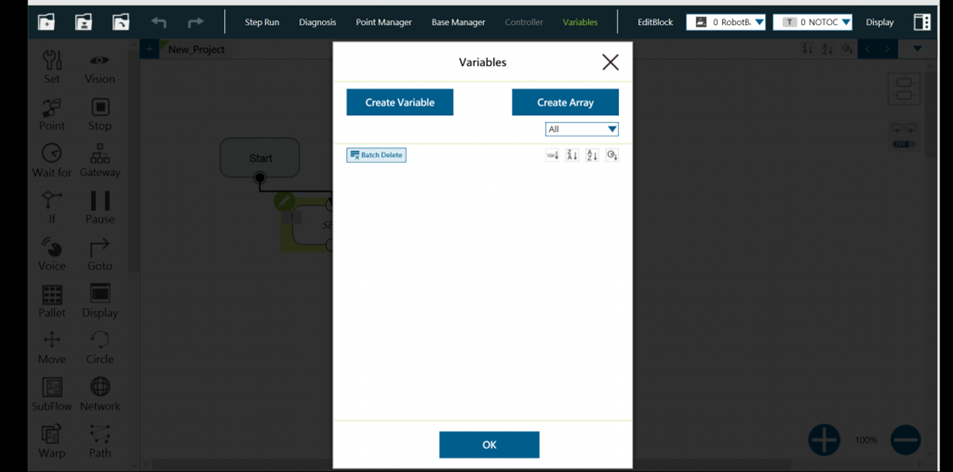
Step #9b: Select variable data type.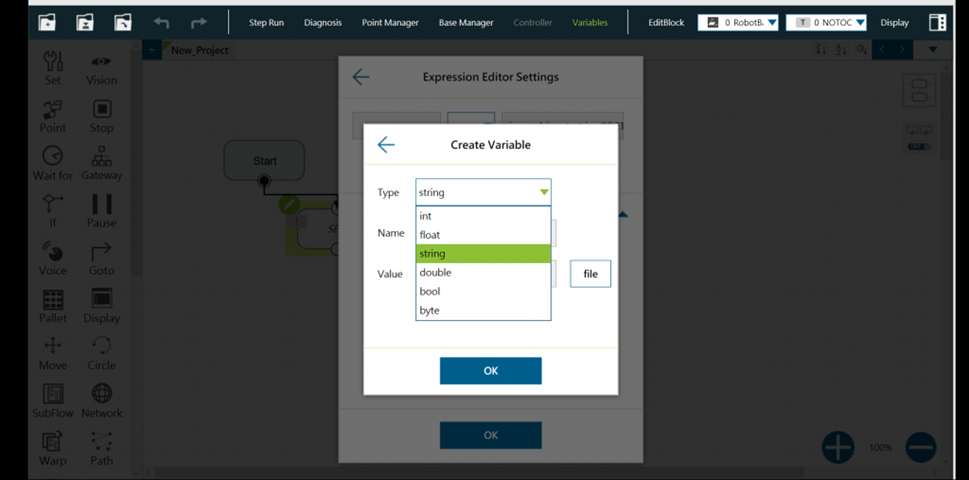
Step #9c: Create a variable name and click 'ok'.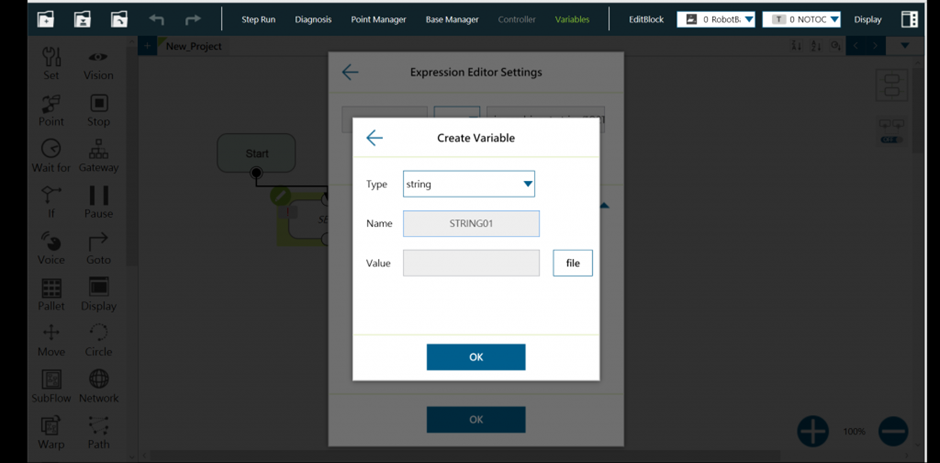
Step #10: Click 'Add' to add one expression to the set node.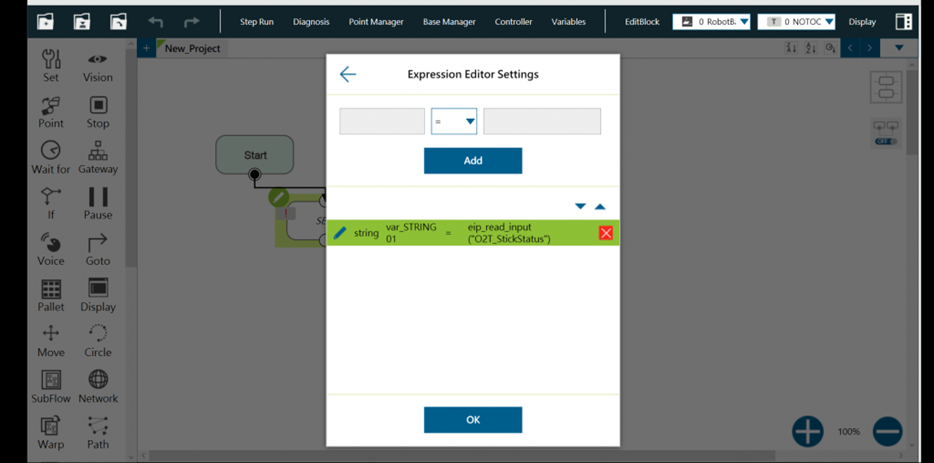
The EtherNet/IP function is set successfully.
Was this article helpful ?