
[EtherNet/IP] Creating A Project in Studio 5000 Logix Designer
Updated on 2026 / 06 / 11
Examples are valid for :
TMflow Software version : All versions
TM Robot Hardware version : All versions
Other specific requirements : None
Note that older or newer software versions may have different results.
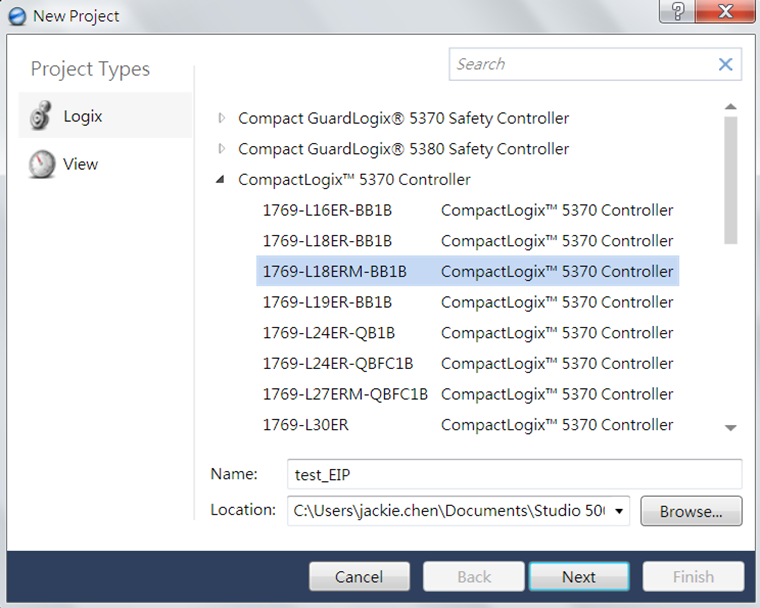
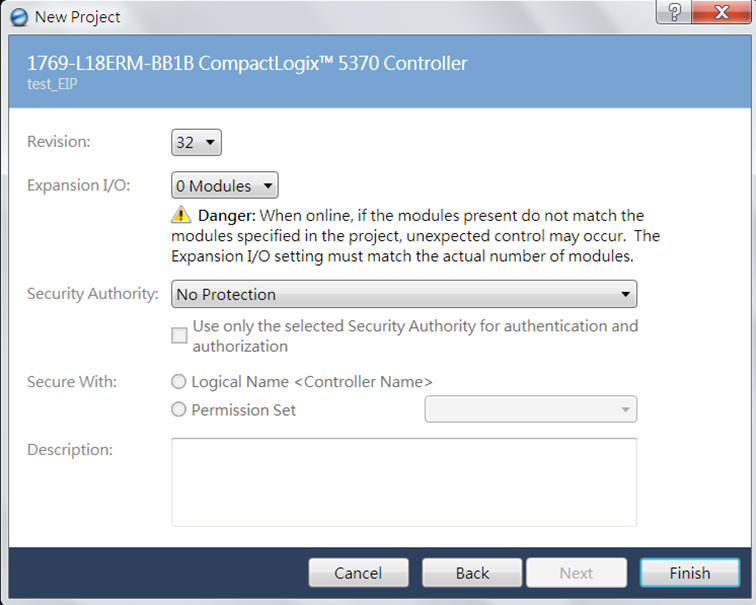
Step #1: Opening Studio 5000 Logix Designer and create a new project.
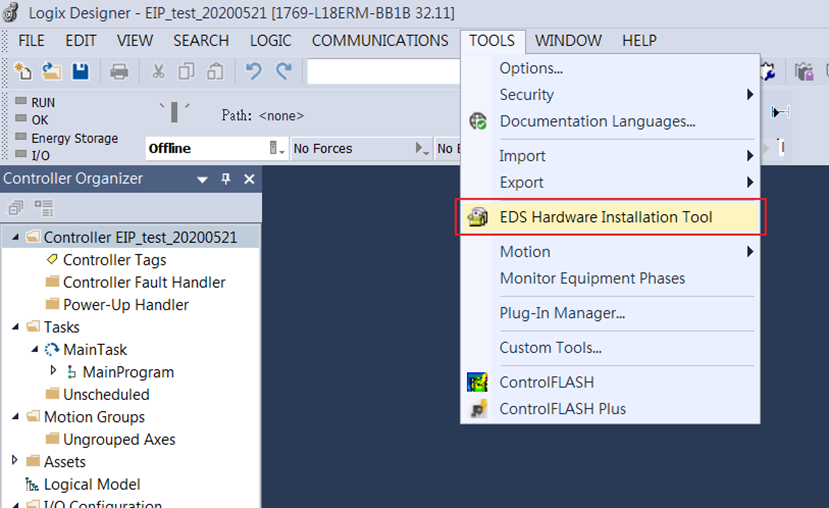
Step #2: After creating a new file, users need to import the EDS File (.EDS), which can be downloaded in the attached file name : ethernetip_setting_package
Remark: EDS is the abbreviation of Electronic Data Sheets, which is used to identify EtherNet/IP devices in EtherNet/IP.
Step #2-1: Click 'Tools' → 'EDS Hardware Installation Tool'
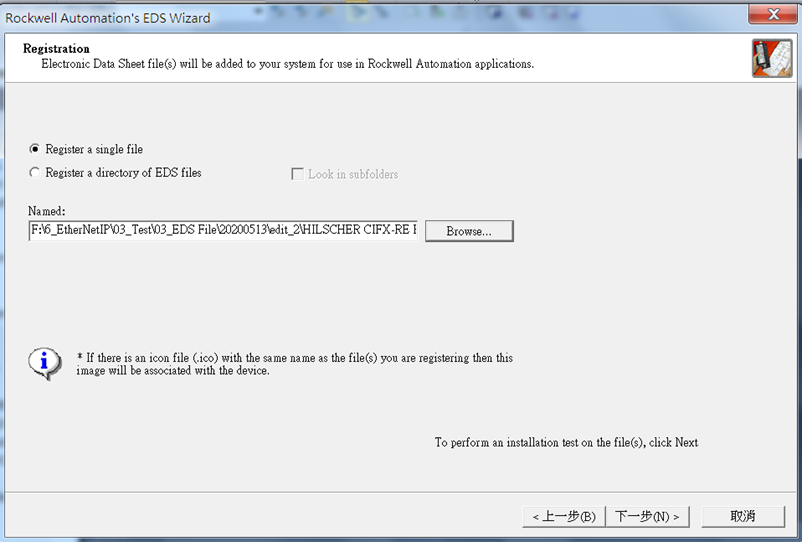
Step #2-2: Browse the .eds file and click 'Next'
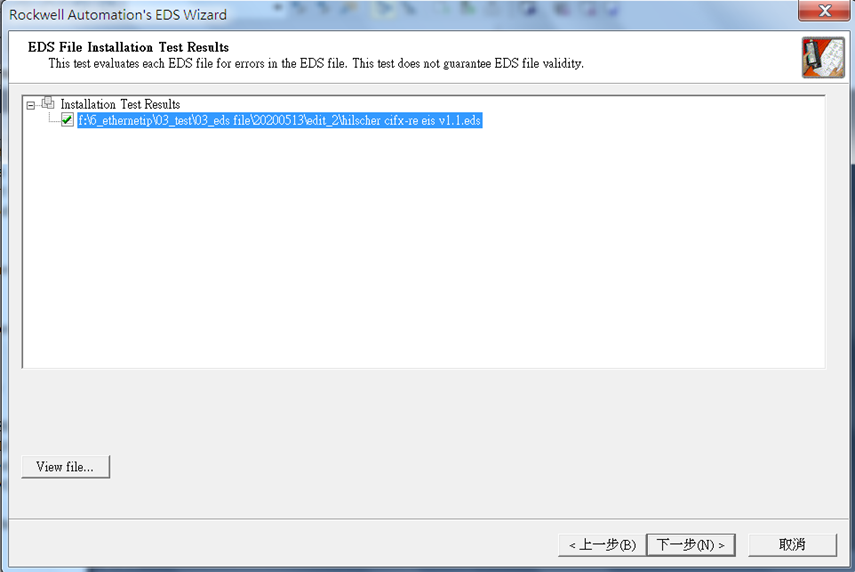
Step #2-3: Choose the imported .eds file
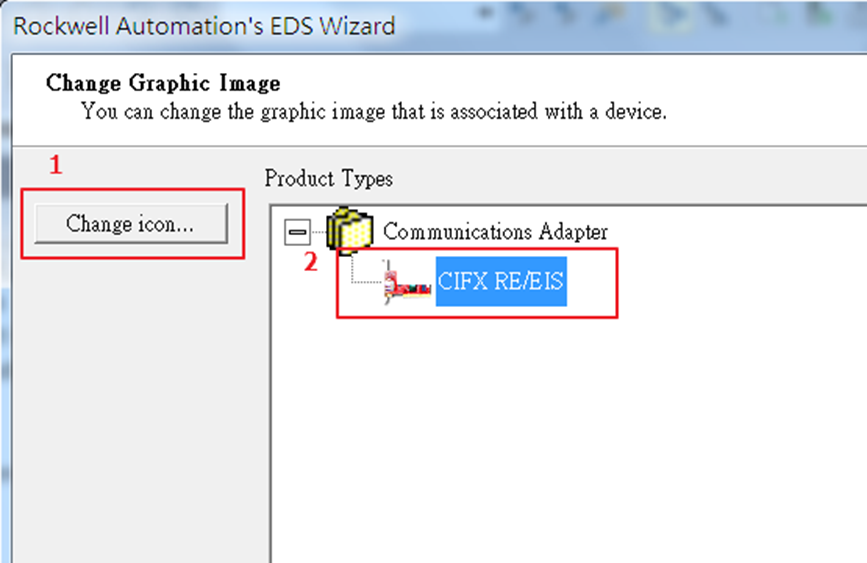
Step #2-4: Change the icon for the adapter
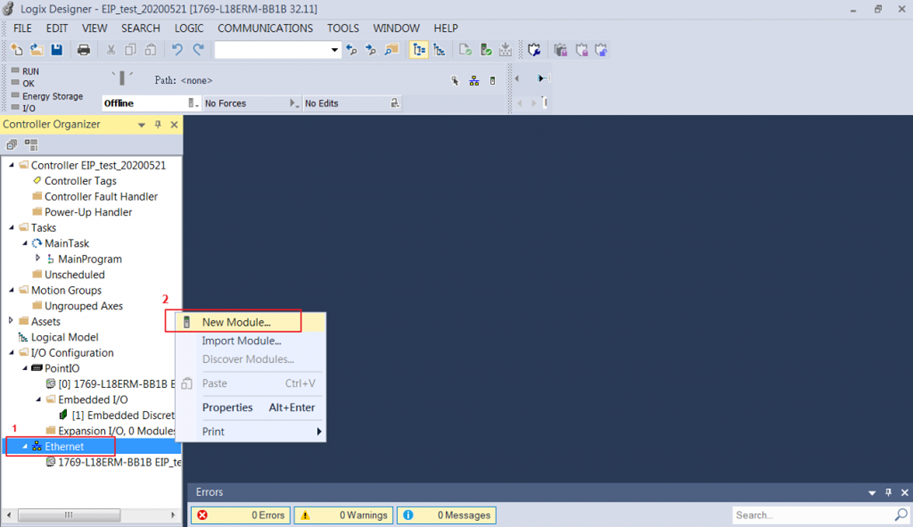
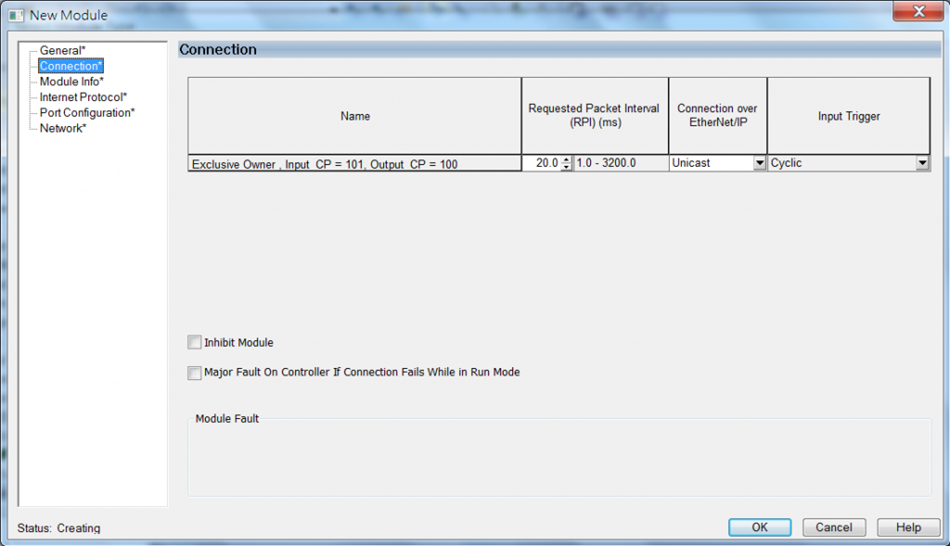
Step #3: After importing the EDS file, then users can add the Fieldbus device (Techman Robot).
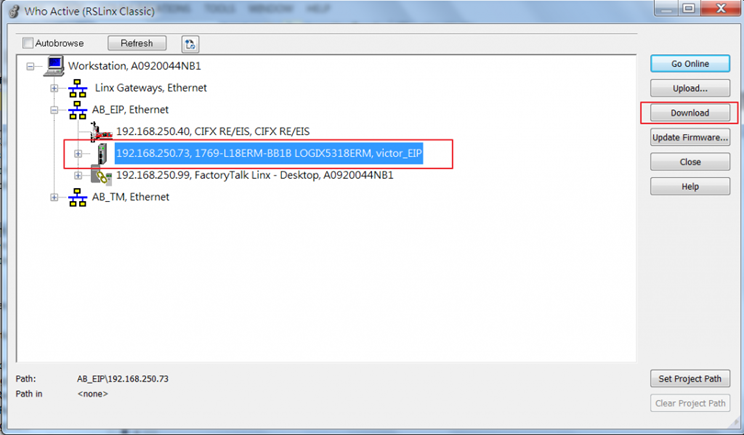
Step #4: When adding a new device, the user must enter the correct IP according to the configuration of RSLinx Classic.
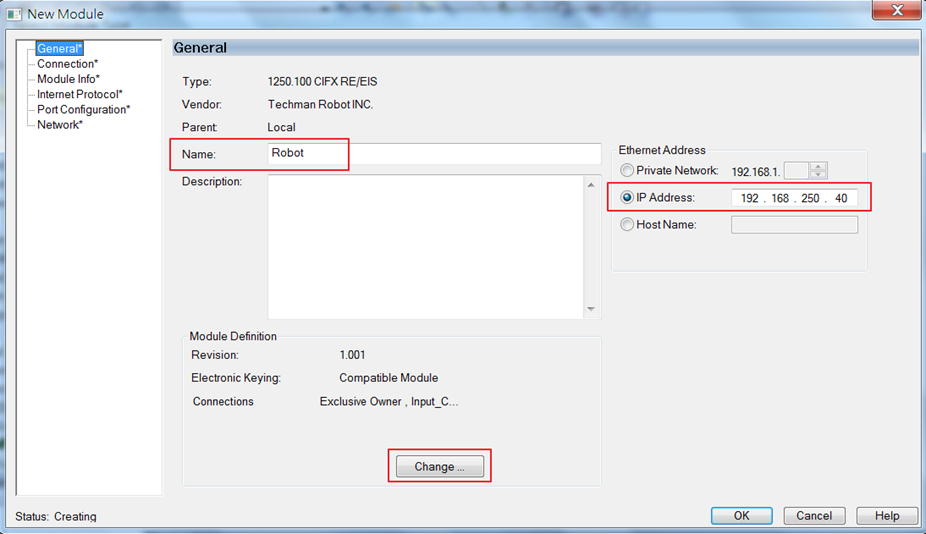
Note: Module Definition shows input and output description of the PCIe module from Techman Robot.
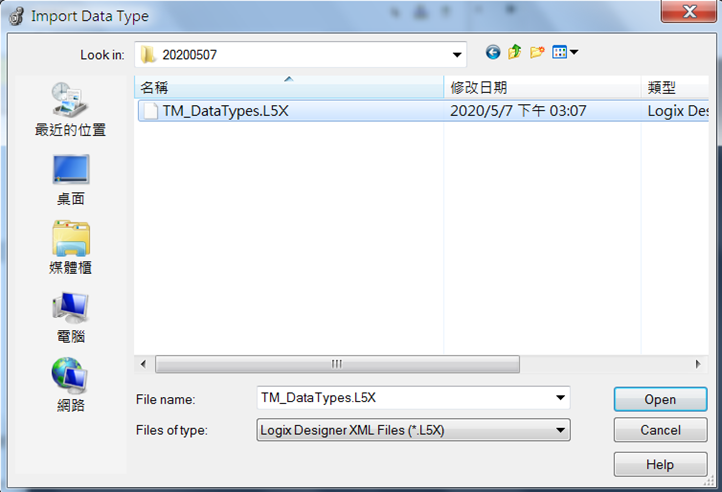
Step #5. After creating a Techman Robot device on Studio 5000, we need to import Data Type (.L5X), which can be found in the package.
Note: L5X file is actually an XML file for importing programs and tag databases.
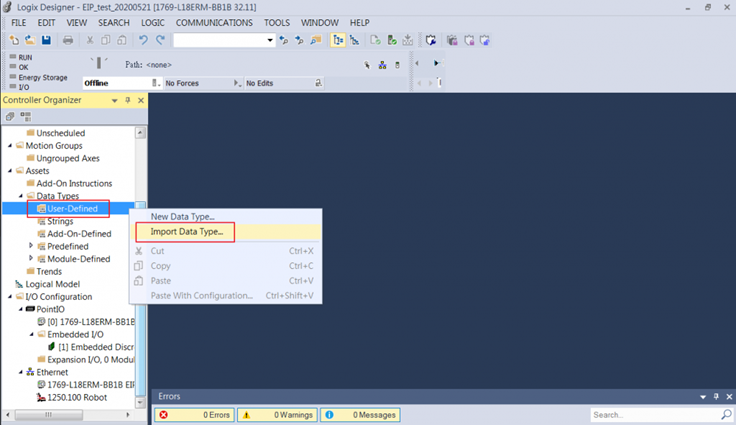
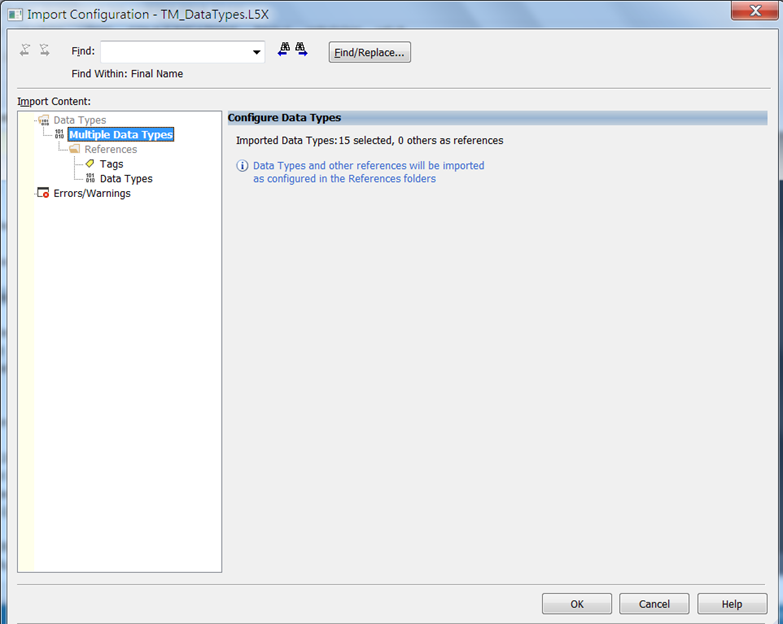
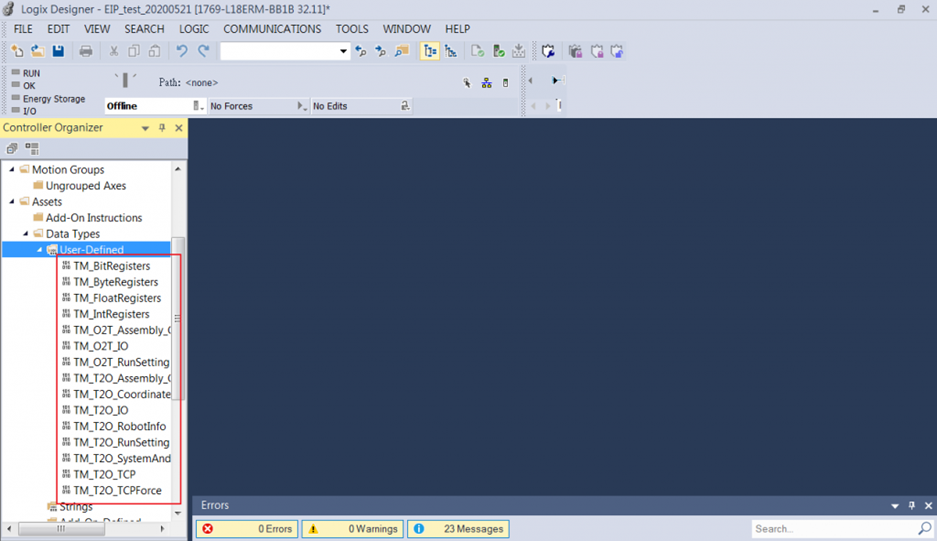
Step #6: After the L5X file is imported, the User-Defined area will pop up on the left side.
Step #7: Create Tags for the project.
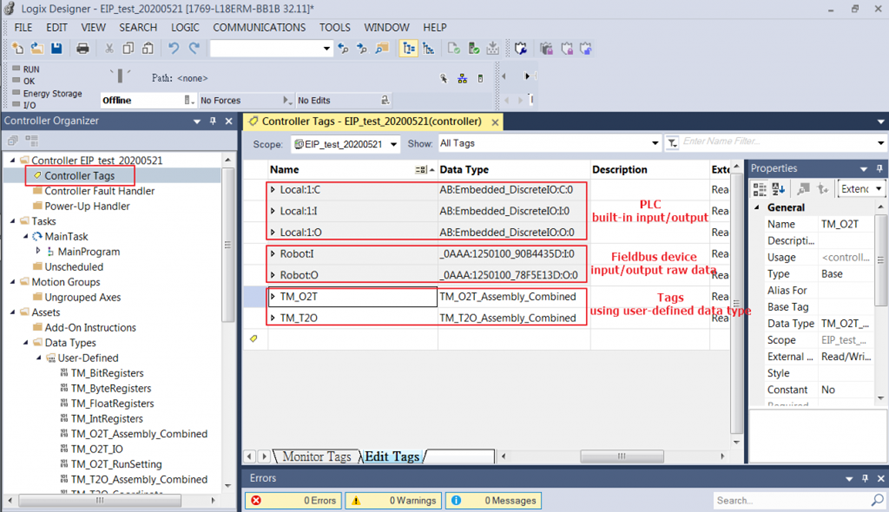
1. PLC built-in input/output is the physical input and output of PLC.
2. Fieldbus device input/output raw data is the raw data of Fieldbus device (robot)
3. Tags using user-defined data type: Raw data will be transformed into user-defined data through the data type file (L5X).
Programming PLC ladder to sync I/O data
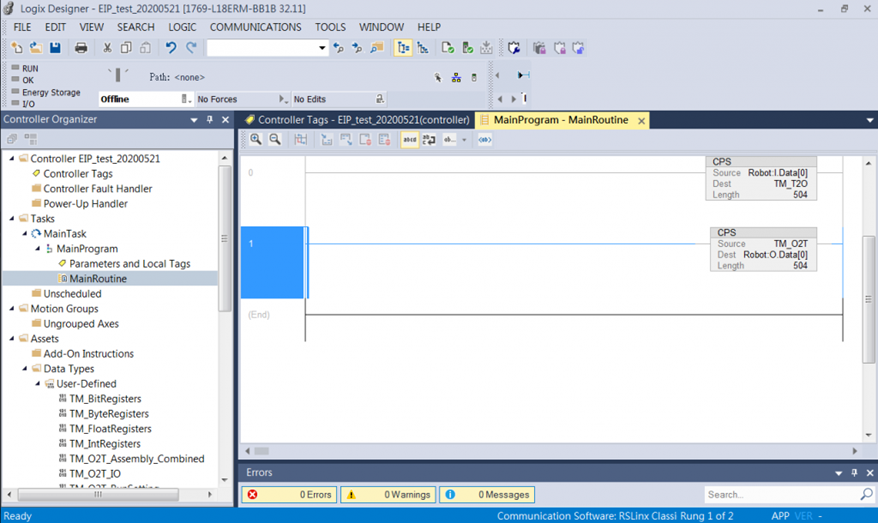
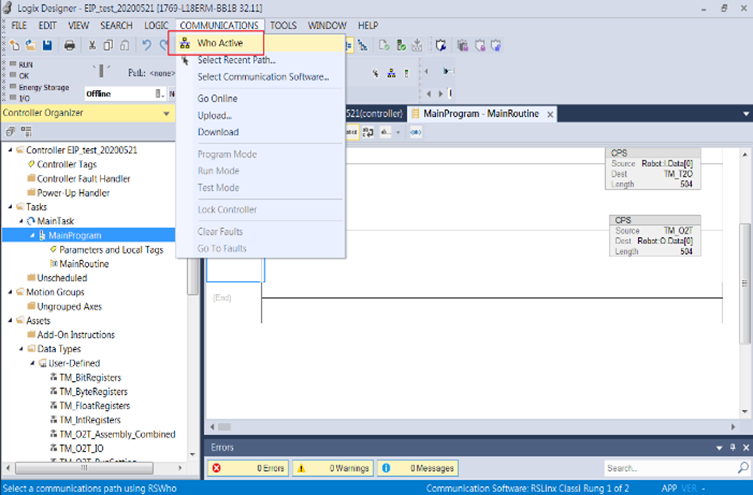
Step #8: After finishing programming the PLC ladder diagram, users can start to run the project. Before running the project, users have to download it to PLC.
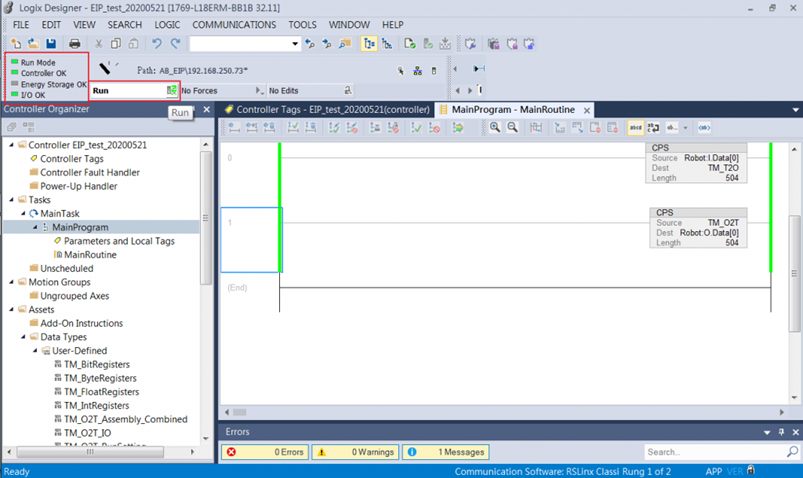
Step #9: After downloading to PLC, users can start running the project.
Was this article helpful ?